Update: If you’re deploying Windows 10 1607 / Windows Server 2016 or newer, installing the App-V Client is no longer neccessary. More Details
Recently, I wrote a Blog post about How to Install the App-V 5.1 Client using Microsoft Deployment Toolkit. In case you missed it, you can find the Blog post over here.
Today, I’d like to cover the Installation Process of the App-V 5.1 Client using Microsoft’s Configuration Manager Current Branch, Version 1602. The Steps, which are provided here, will also work with older ConfigMgr Releases but some functions may vary.
We will create a single Application for the App-V Client / Hotfix with a Custom Wrapper and deploy this Application to a Client. It is also possible to create two dedicated Applications for the Main Installer and the Hotfix, but I’d like to keep things simple and use only one Application.
Packaging the App-V Client & Hotfix
I assume you already downloaded the Desktop Optimization Pack 2015. Open the ISO and navigate to the Folder “App-V 5.1\Client”. In here you find two files
- appv_client_setup.exe
- appv_client_setup_rds.exe
As you can guess from the Filename, the above is for the classic Installation on a Client and the other one is for the Installation on a Remote Desktop Services (RDS) System.
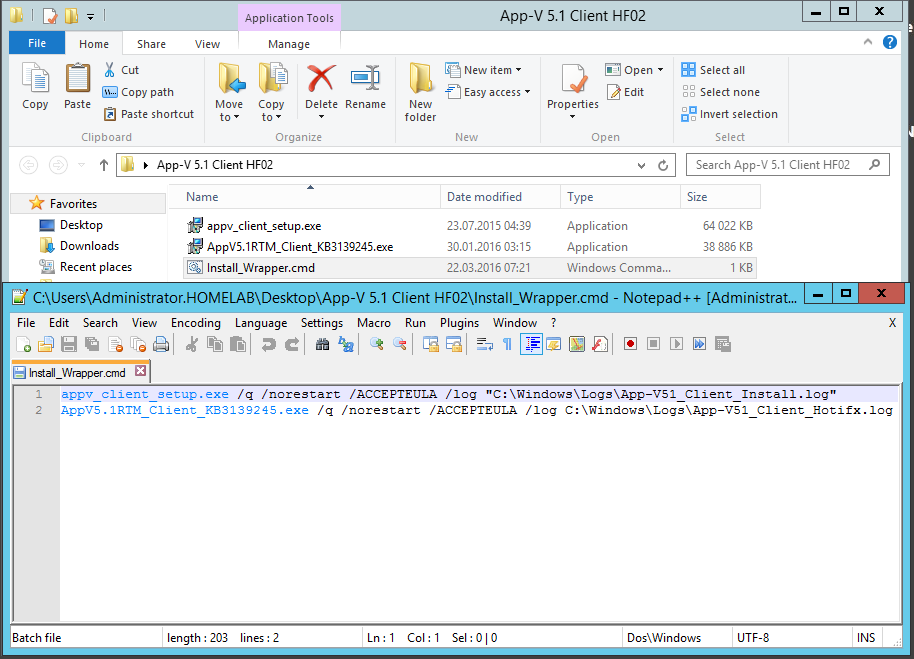
Copy the Non-RDS Installer to a dedicated Folder as below:

The next step is to grab the latest Hotfix, which is HF02 (KB3139245) at this certain moment. Copy the Non-RDS Hotfix to the same Folder, where you copied the Main Installer.

Create a file “Install_Wrapper.cmd” in the same Folder, with the following Content:
appv_client_setup.exe /q /norestart /ACCEPTEULA /log "C:\Windows\Logs\App-V51_Client_Install.log"
AppV5.1RTM_Client_KB3139245.exe /q /norestart /ACCEPTEULA /log C:\Windows\Logs\App-V51_Client_HF02_Install.log
(I’m usually not a big fan of Batch-Files, but for the really simple purpose of calling two EXEs, I’m making and exception)
If you are using a different Hotfix, you’ll need to adjust the filename in the Second Line of the Wrapper Script.
Creating the Application in ConfigMgr
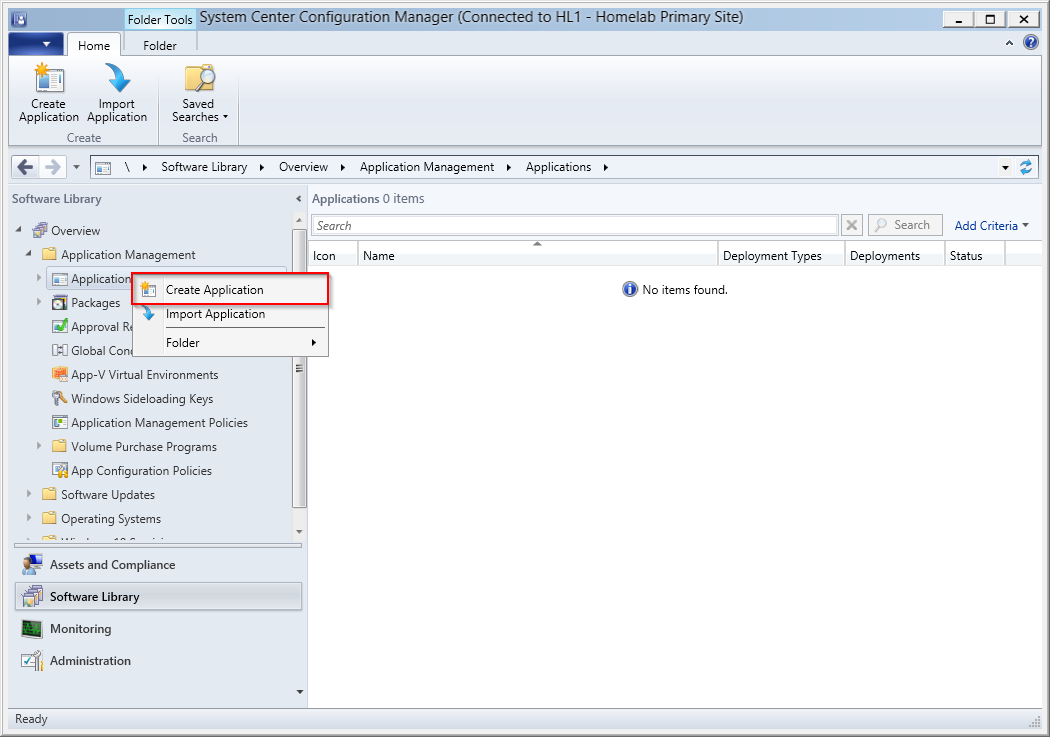
Head over to your ConfigMgr Console and create a new Application.
Select “Manually specify the application Information” and Click “Next”

Enter the Metadata like Name, Publisher and Software Version and Click “Next”

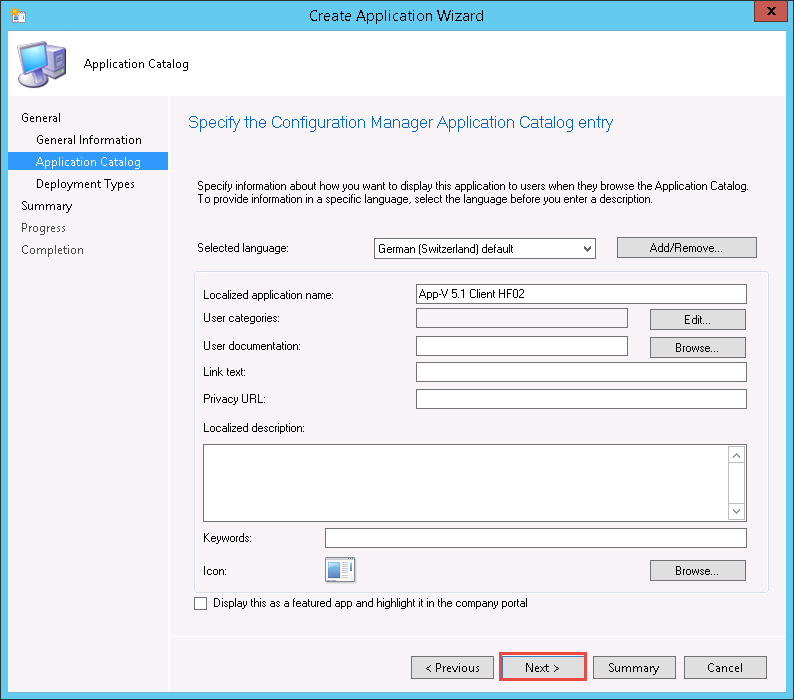
Modify the Application Catalog Section if needed and Click “Next”
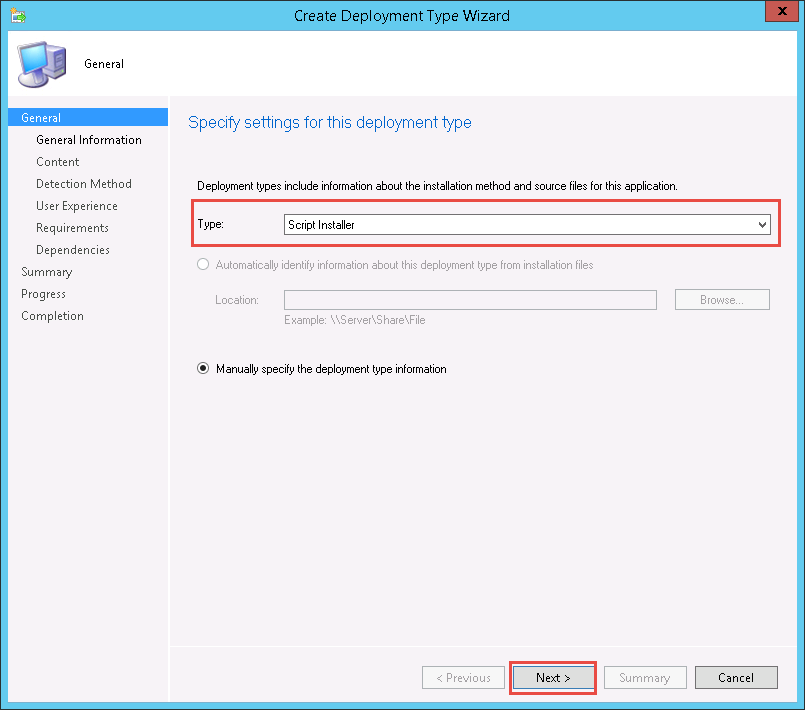
Click “Add” to create a new Deployment Type

Select Type “Script Installer” and Click “Next”
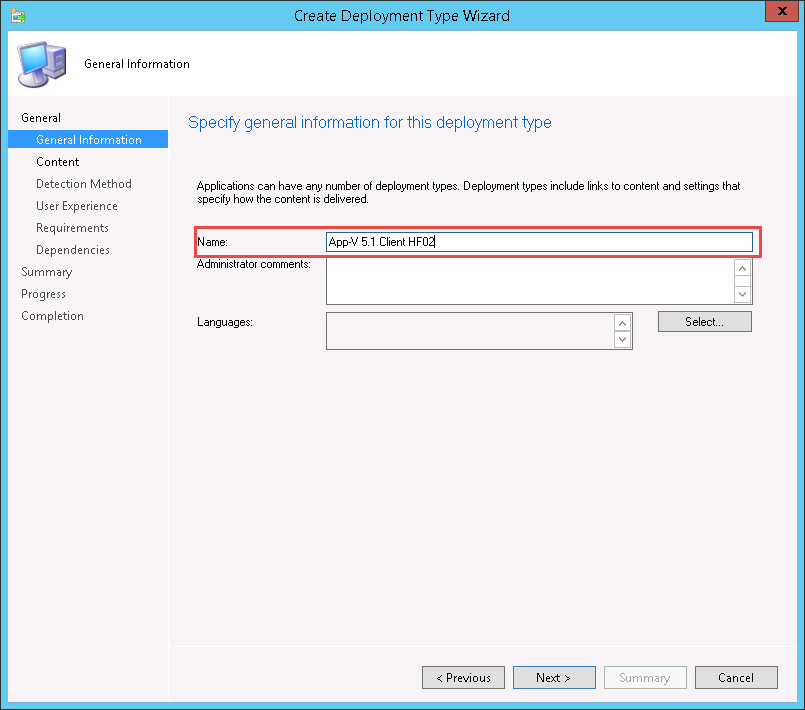
Enter a Name for the Deployment Type and Click “Next”
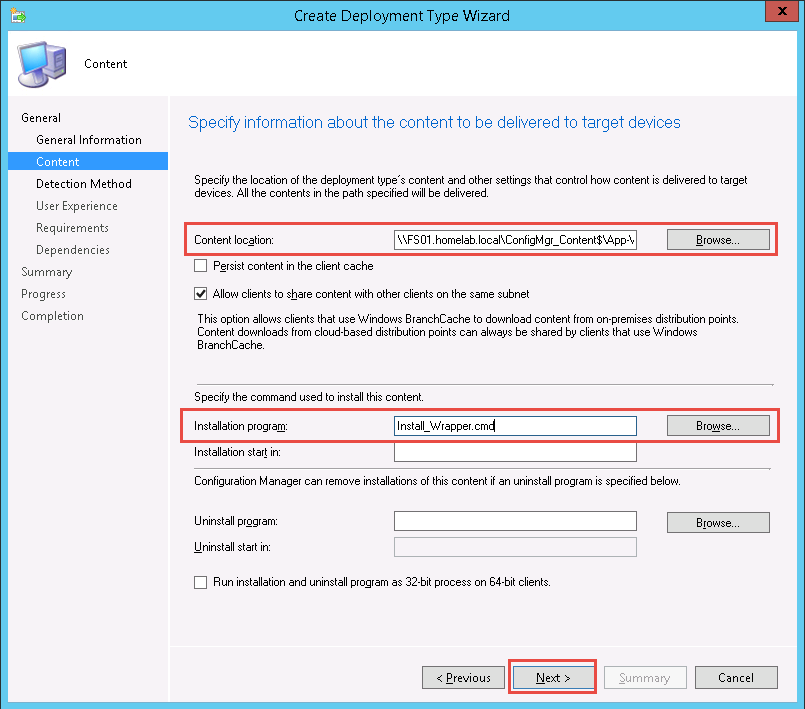
Specify the Content Location and the Wrapper-Script, that you created as below. Click “Next”
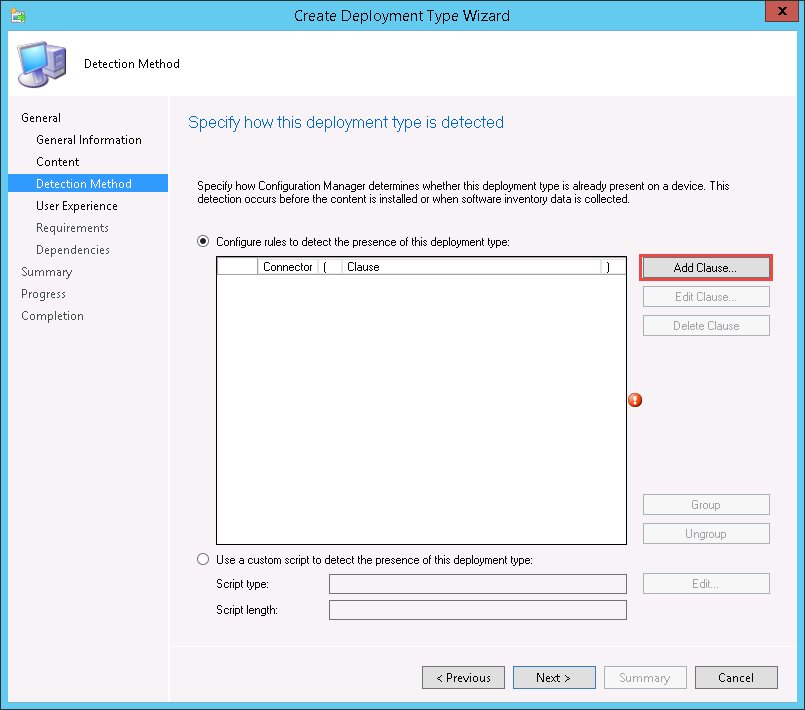
Click “Add Clause”
Specify the Detection Method as below. If you’re using a different Hotfix, make sure you adjust the File Version in the “Value” Field! Click “OK”
%ProgramFiles%\Microsoft Application Virtualization\Client

Click “Next”

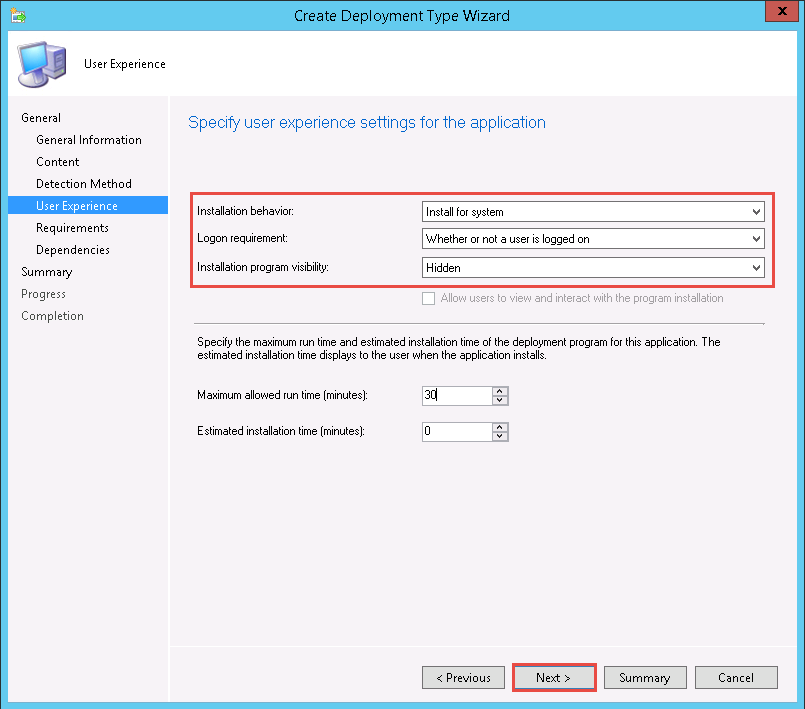
Modify the User Experience Settings as below and Click “Next”
Add the Requirements, based on the App-V 5.1 Supported Configurations TechNet Page and Click “Next”
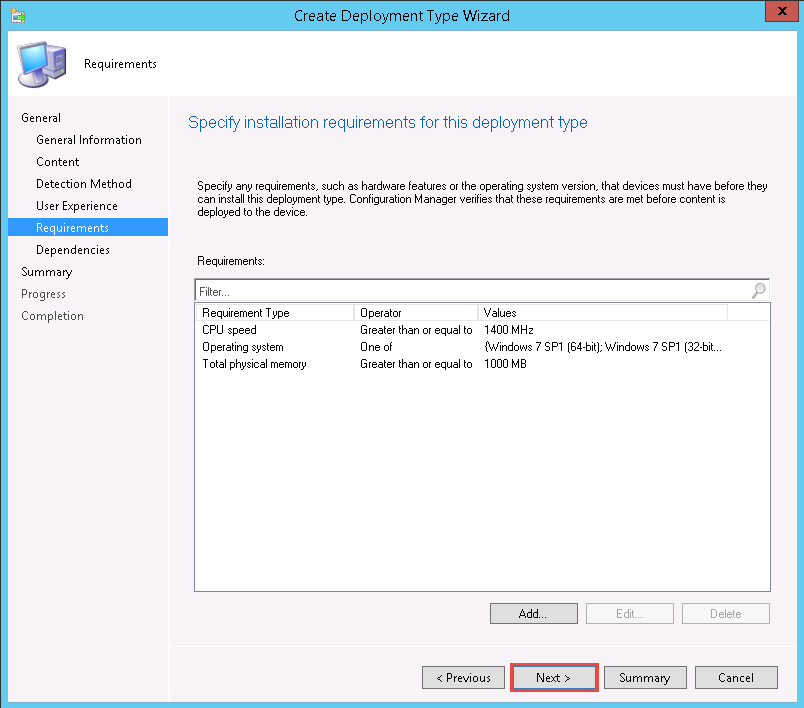
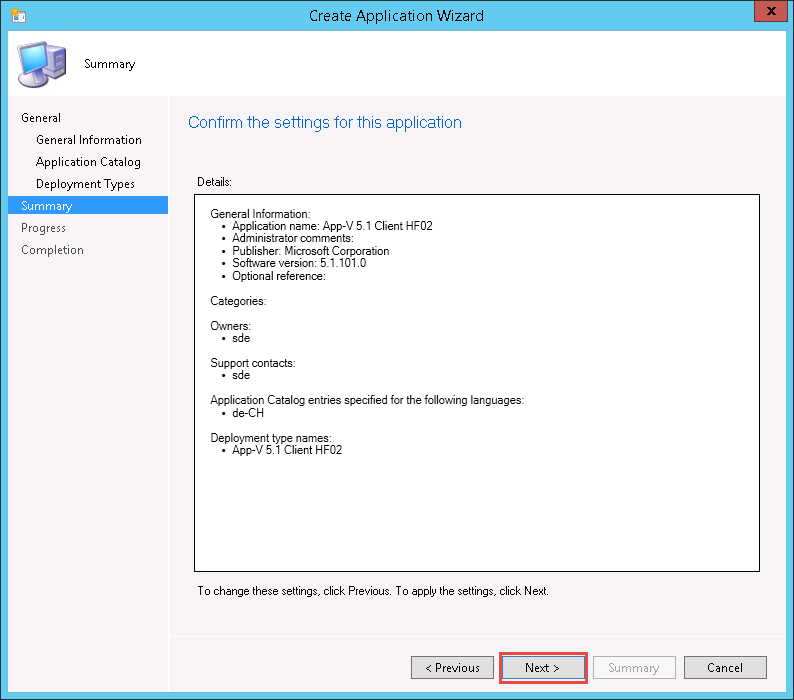
Click “Next”
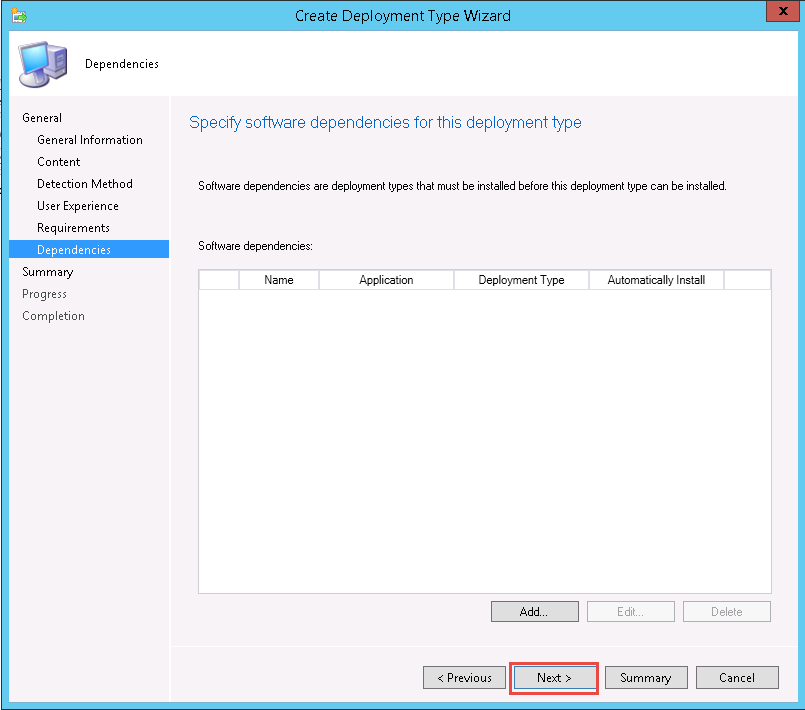
Click “Next”
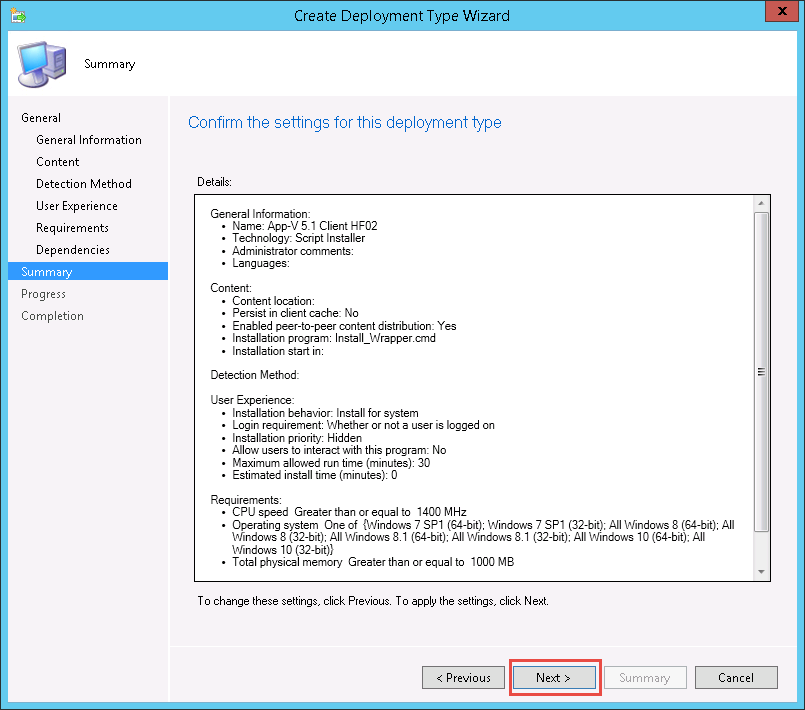
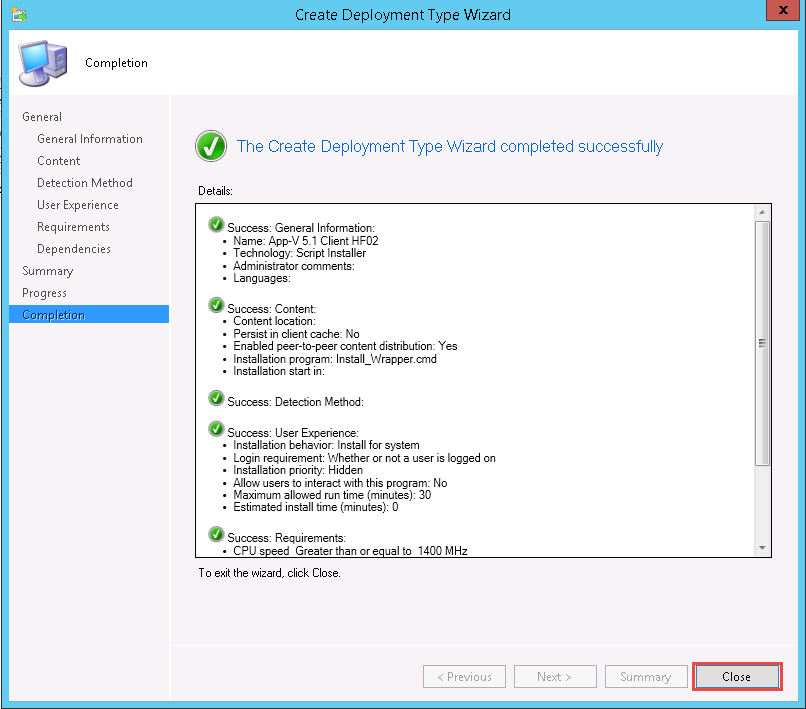
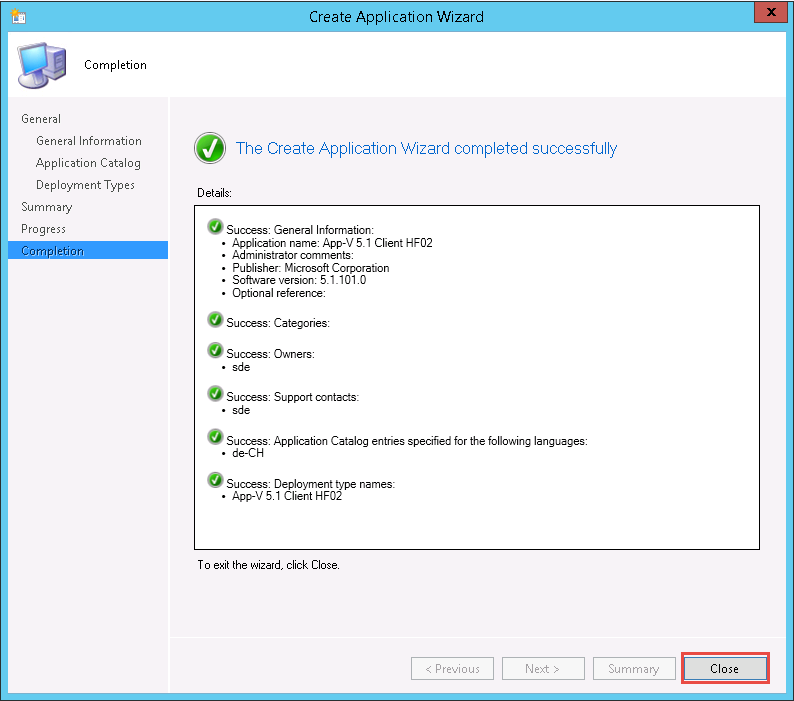
Click “Close”
Click “Next”

Click “Next”
Click “Close”
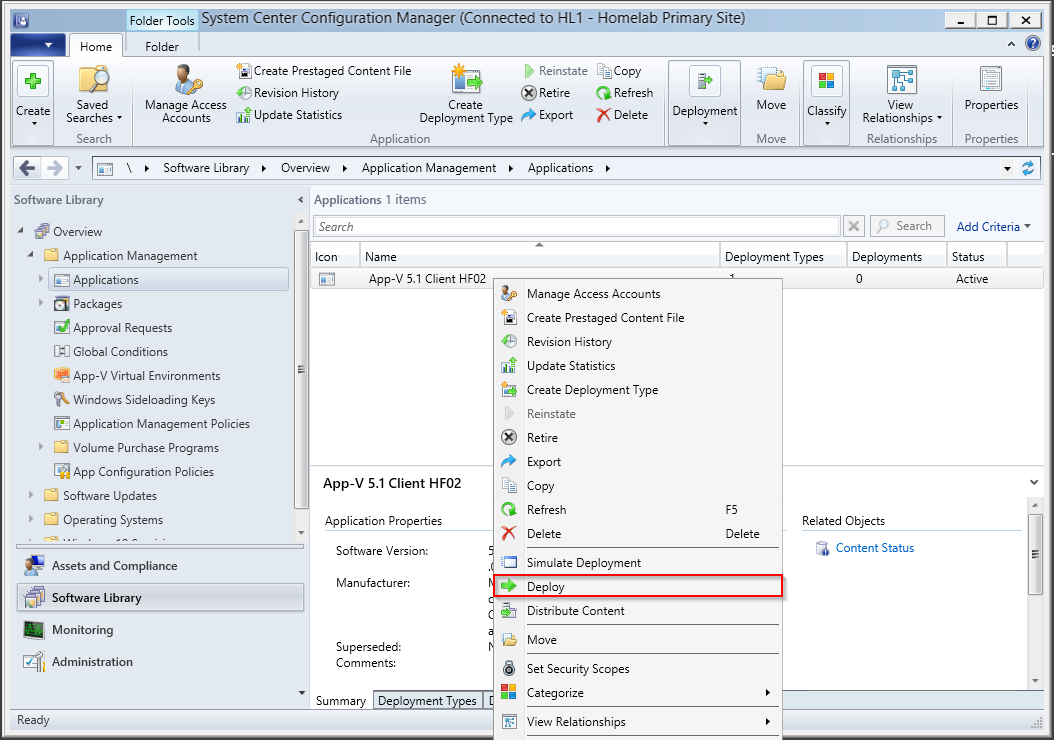
Deploying the App-V Client
Right-Click your created Application and Click “Deploy”
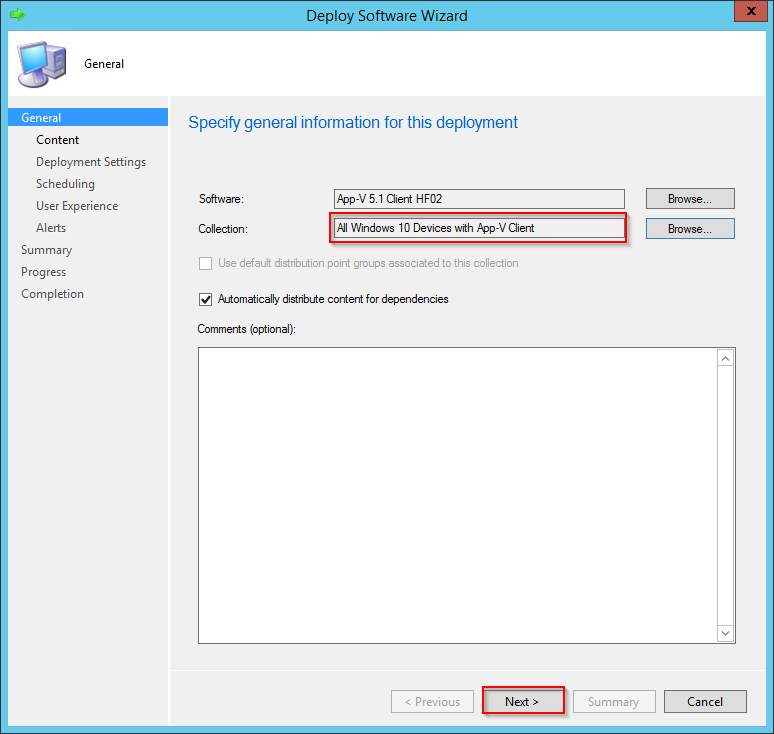
Select the Collection, which you want to target for the Installation. The Collection in my example is a Device Collection, which contains all Windows 10 Computers. Be careful what you choose here, because those devices will get the App-V Client. Click “Next”
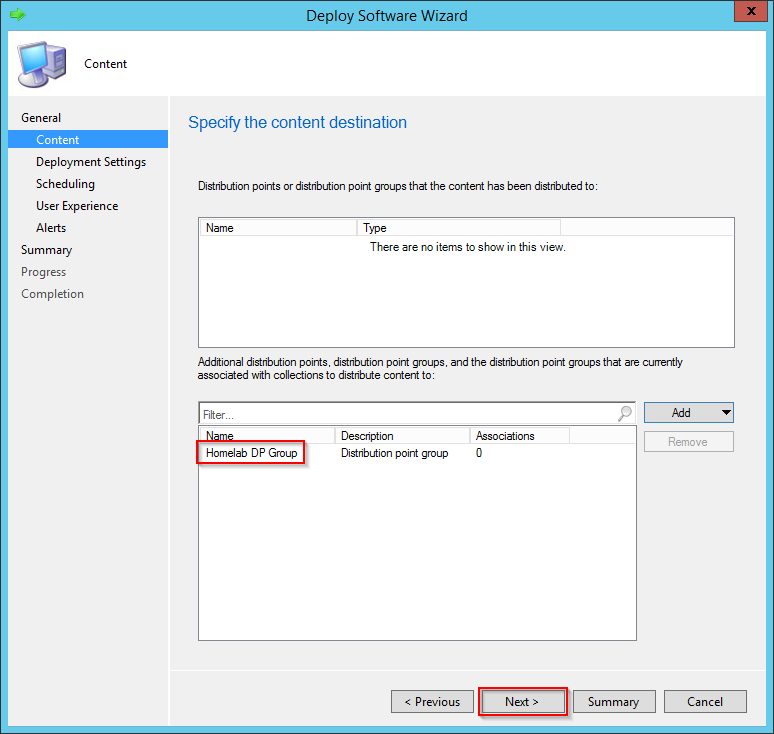
Select your Distribution Point or Distribution Point Group and Click “Next”
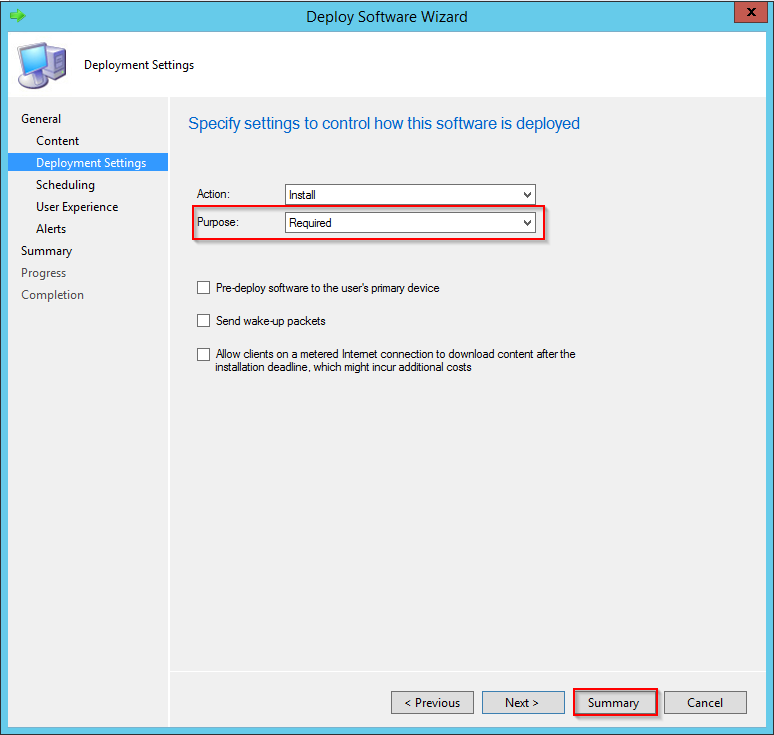
Select the Purpose of the Deployment, Available or Required, and Click “Summary”
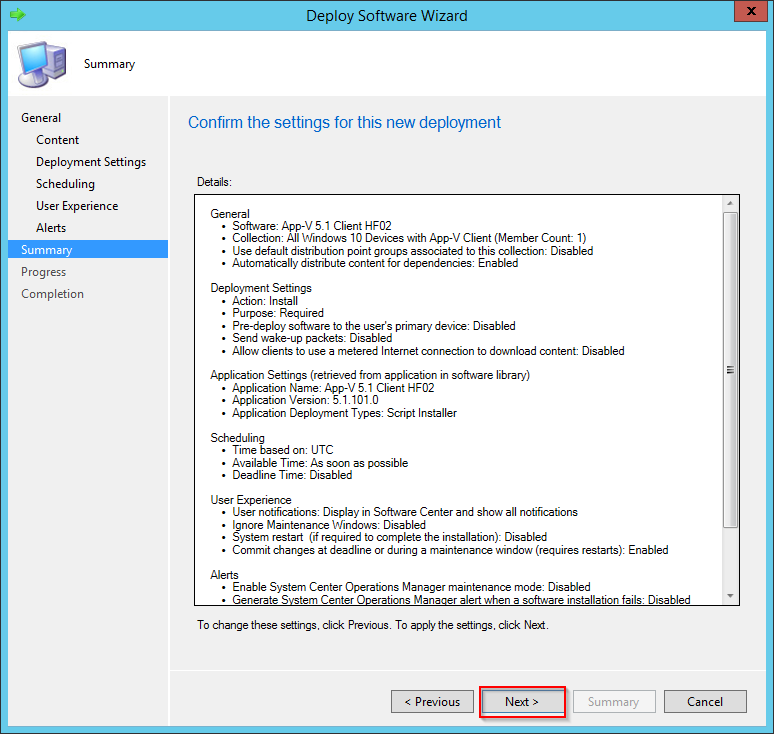
Click “Next” to Confirm the Deployment and Click “Close”
After you close the Deployment Wizard, you should monitor the Package Content, which should turn into “In Progress”
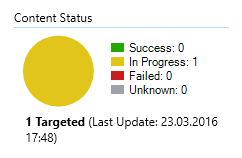
and after a short while, into “Success”

Verifying the Deployment
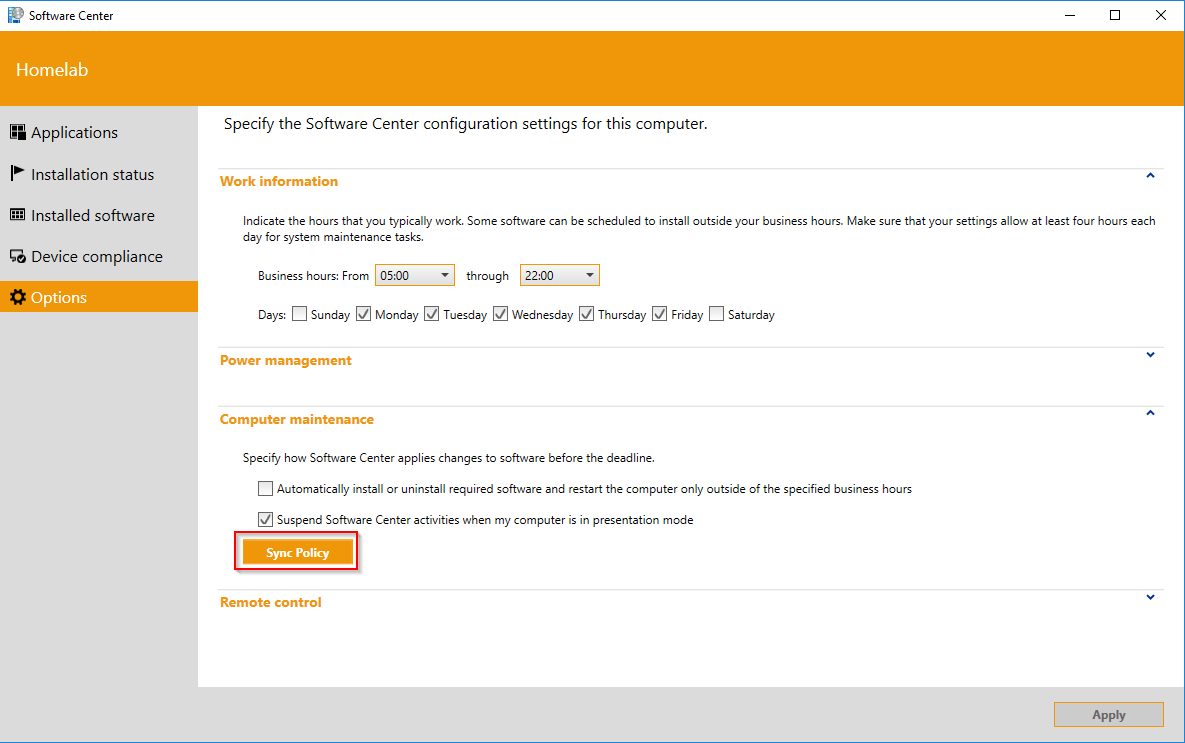
Now switch to a Device, which you targeted with the Deployment, and open Software Center. From there, you can Click “Sync Policy”, from the “Options” Node.
If you’re running an older ConfigMgr Version, you need to force a Policy Sync via the Configuration Manager Control Panel Applet as below.

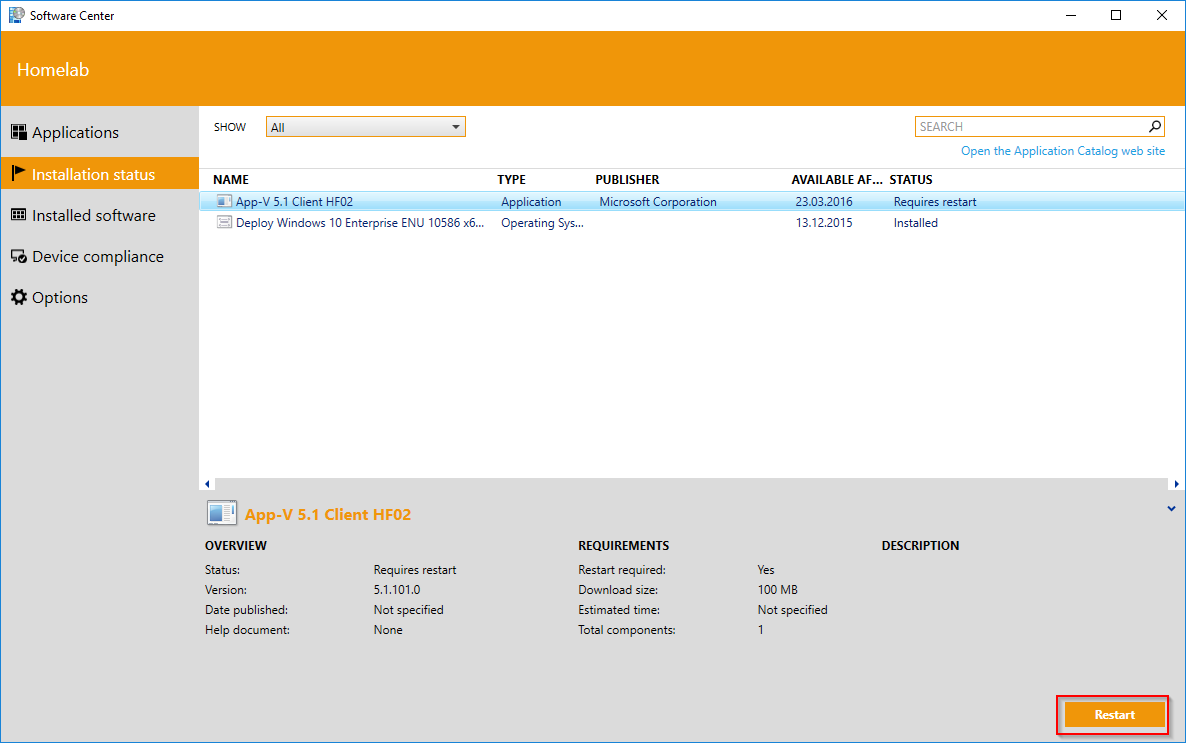
After a short while, the App-V 5.1 Application should appear in Software Center and the Installation should start.

When done, Software Center triggers a Restart Notification.
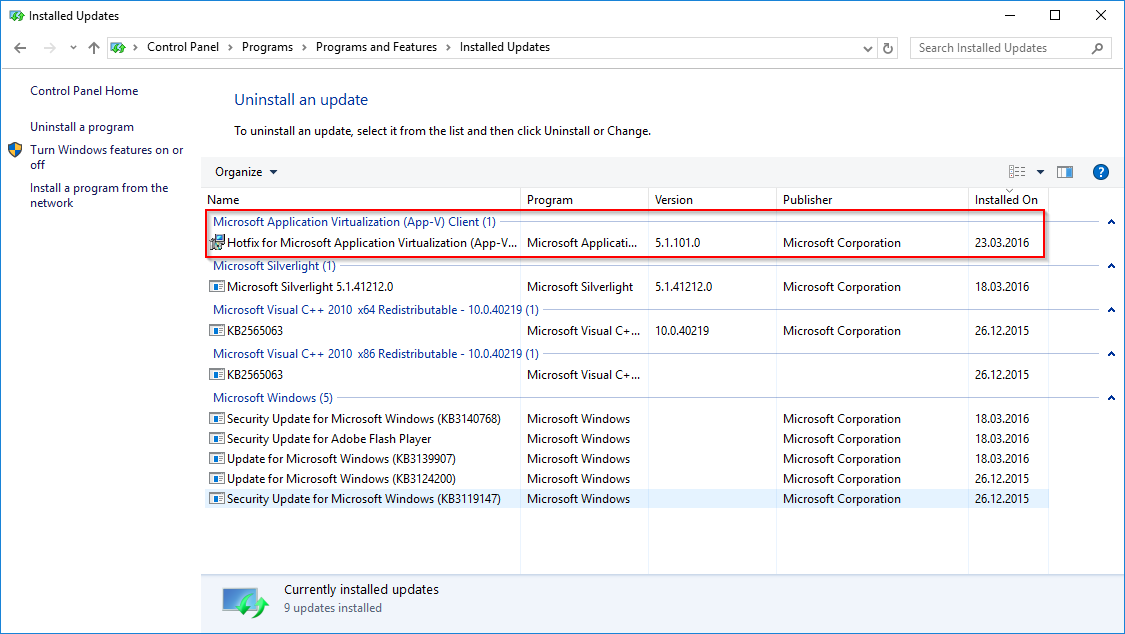
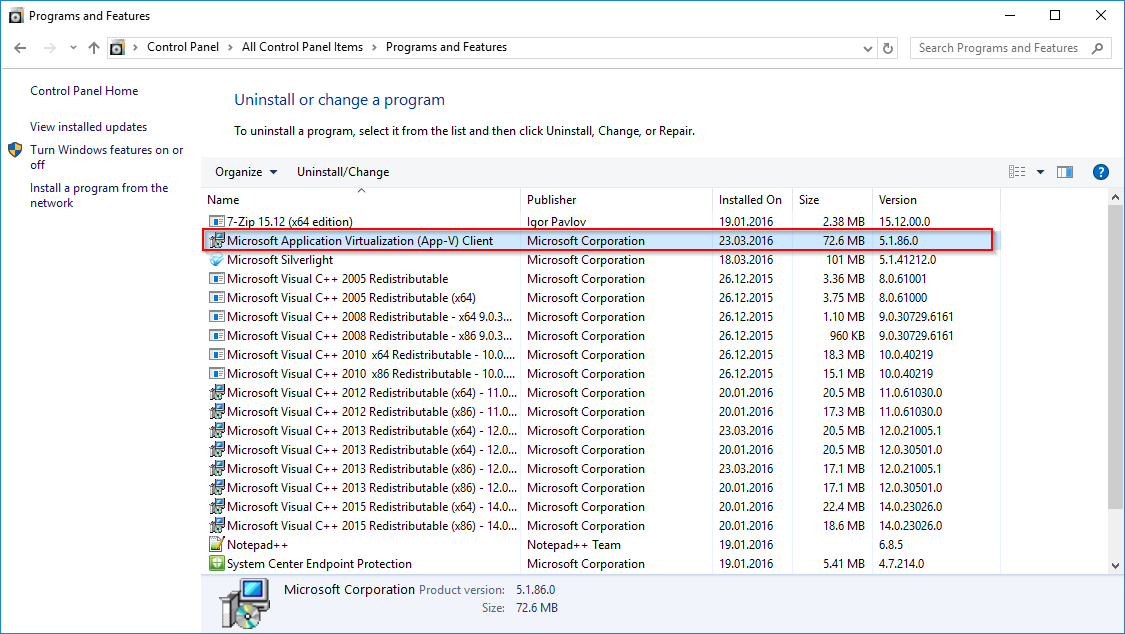
After the Restart, you have a fully working and up-to-date App-V 5.1 Client.
Hi, You know Windows 10 has the App-V client by default. You just enable it via Group Policy
Hi Mark
Yes, I’m fully aware of that. However, there are still people that deploy older Versions of Windows without an App-V Client. Nevertheless, I updated the blog posts to this topic with an additional note.
Thanks.
Simon
Hi Simon,
Thanks for making it easy for us,
How do we deal with prerequistes as listed below
https://technet.microsoft.com/en-us/itpro/mdop/appv-v5/app-v-51-prerequisites
when deploying using above method to a Windows 7 client base.
Do we have to chain another script to this for pre-reqs ?
Yes, I usually create separate Applications for them and specify them as a Dependency on the Main App-V Application.
Ignore this….rather delete the request got my answer !!