Today i want to write a few lines, about how you perform a rearm of your Office Installation using MDT or ConfigMgr / SCCM. Rearming the Office Installation is key, if you put Office in your Reference Image.
Let’s get through the basic, common questions first.
Why do I need to rearm my Office Installation?
As Windows has its SID, so does Office have a unique ID called CMID which is generated as soon as Office gets installed. The CMID must be unique, so that the Volume Activation using KMS works without any issues.
When do I need to rearm my Office Installation?
You need to rearm Office if you include it in your Reference Image. If you deploy Office to existing Devices, you don’t need to perform a rearm as the CMID is already unique. I saw in the past some cases, where a rearm was not necessary for the CMID to be unique, but I haven’t figured out yet why. However, if you want to be 100% sure, you should always rearm office when build a reference image.
How do I rearm my Office Installation?
You can perform a Manual rearm by executing OSPPREARM.EXE, which can be found in your Office 2013 or 2016 Installation Directory. See the Table at the End of the Blog Posts, which contains the path to OSPPREARM.EXE for the different Office Versions.
Does Sysprep rearm the Office Installation?
Simple Answer: No. The normal Sysprep Command does not rearm the Office Installation. However, there is a rearm Functionality in MDT, which is rearming an Office 2010 Installation. More information about that behavior is in the MDT Section below.
How can i view the CMID?
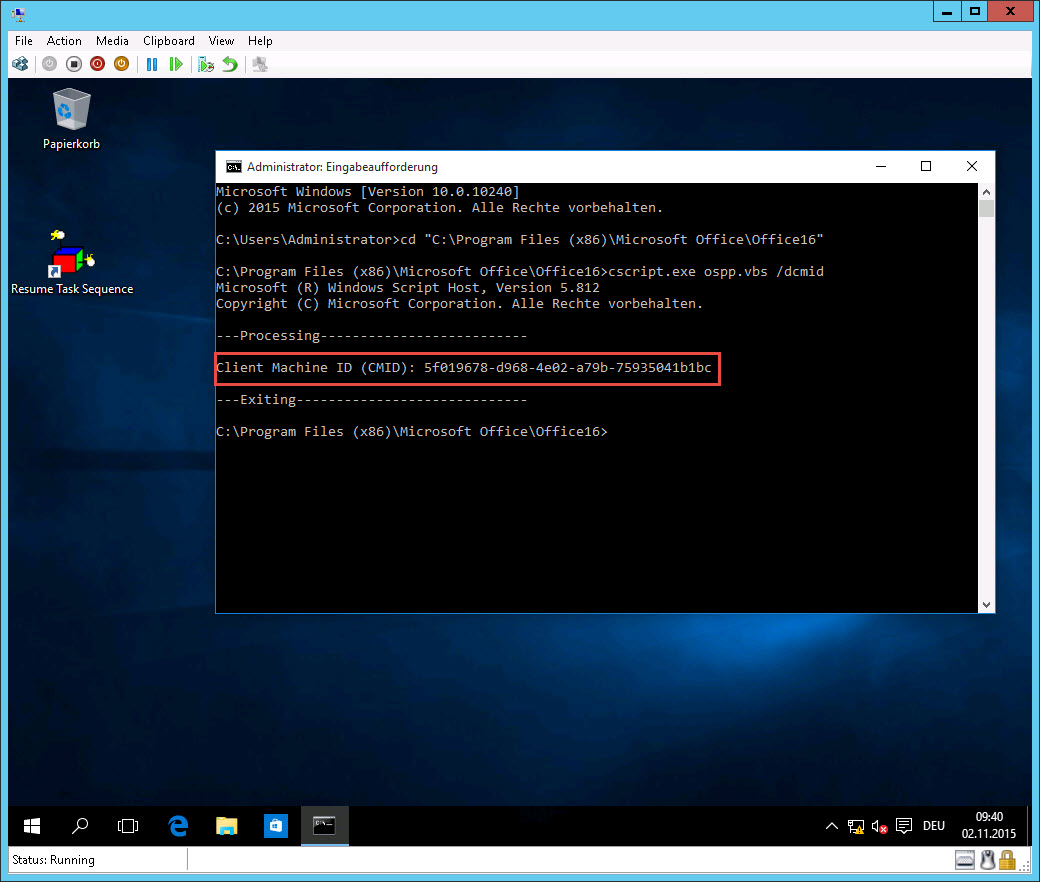
Open an elevated command prompt on a Client where Office is installed, change into your Office Directory and run the following command:
cscript ospp.vbs /dcmid
Below you find two sections, MDT and ConfigMgr / SCCM which will describe the method on how you perform the rearm action.
MDT
With the Release of Update 2 for MDT 2013, the Rearm functionality is now present in LTISysprep.wsf, for Office 2013 and for Office 2016. If you already run Update 2, you don’t need to implement my Rearm Script!
If you are using Microsoft Deployment Toolkit to generate your Reference Image, there is a slight chance that you don’t need to do anything. As written above, the normal Sysprep Command does not rearm the Office Installation. However, MDT rearms an Office 2010 Installation (only!) automatically when it reaches the Execute Sysprep Step in your Task-Sequence.
You can verify this by opening the LTISysprep.wsf as below:
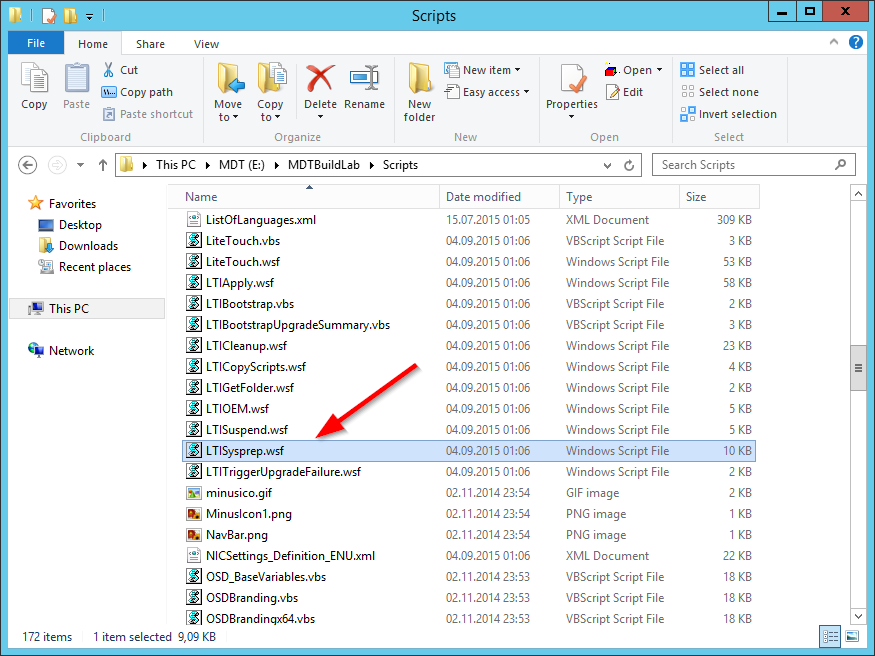
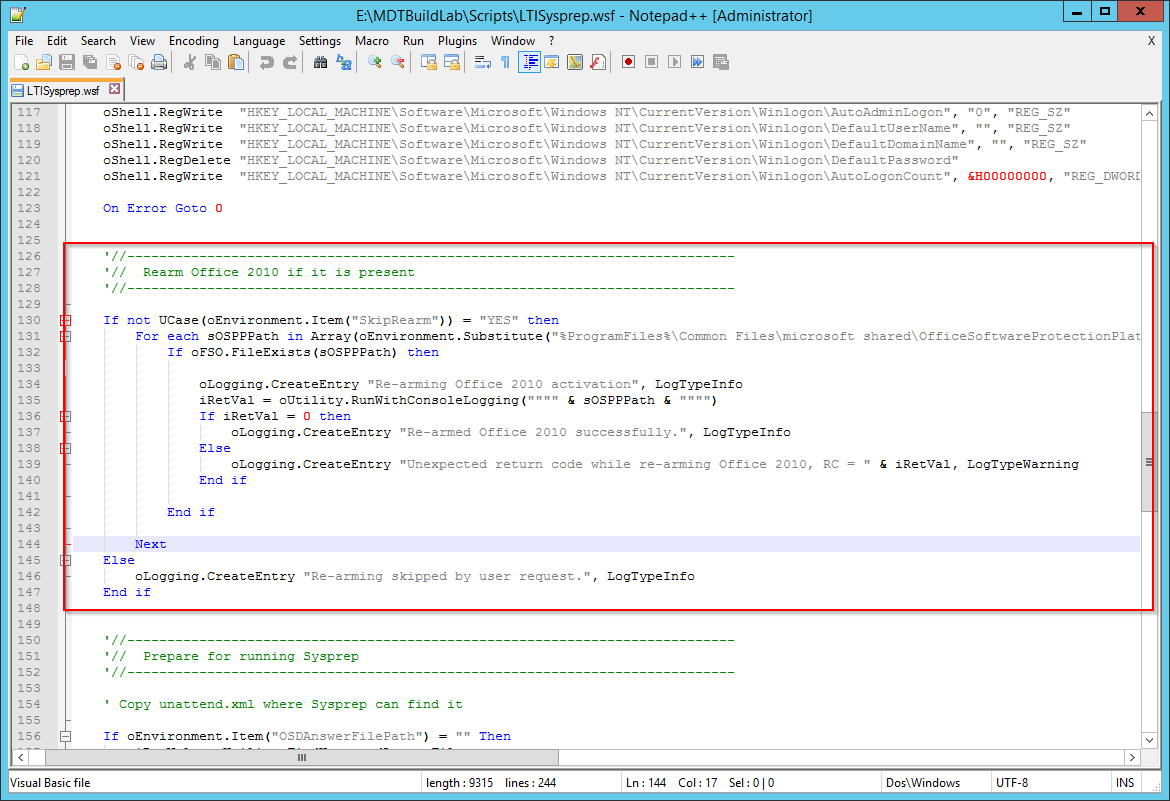
Here you can also see the Problem. There is only a rearm Section for Office 2010, but not for Office 2013 and neither Office 2016.
For this reason, I created a script which rearms Office 2013 and Office 2016 which you can find on GitHub.
After downloading the script, follow these steps to create a new MDT Application and embed it in your Reference Build Task-Sequence
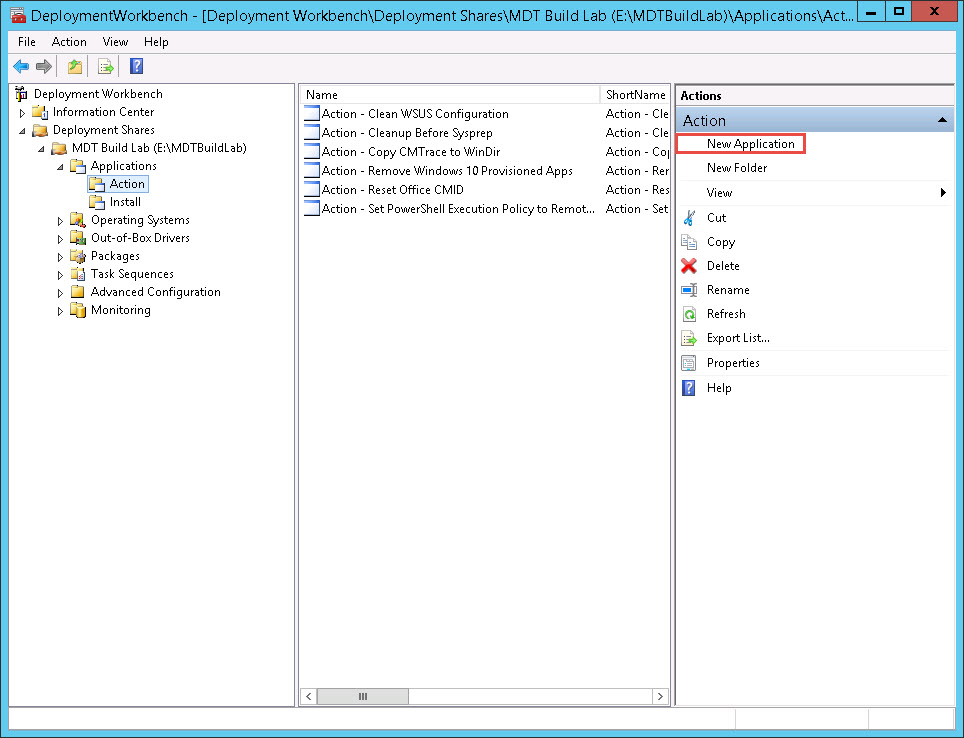
1. Open Deployment Workbench and create a new application:
2. Select Application with source files and Click Next:

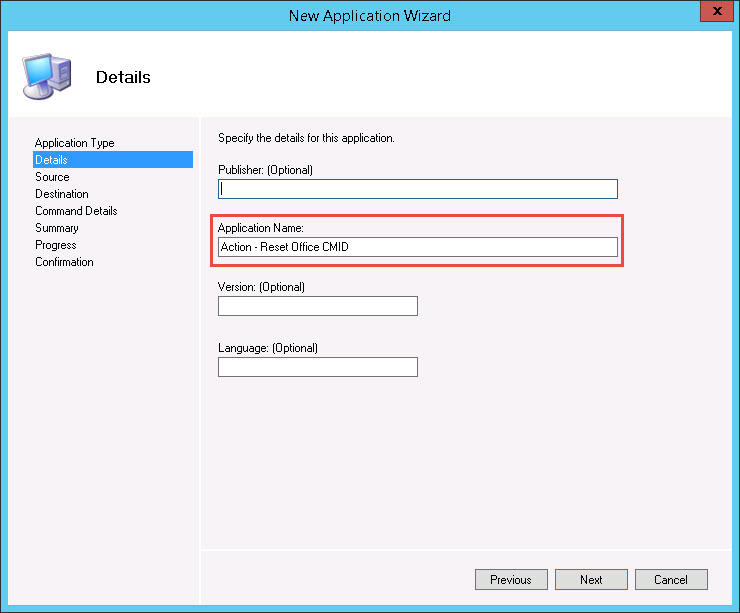
3. Specify a name for the script, such as: Action – Reset Office CMID and click Next:
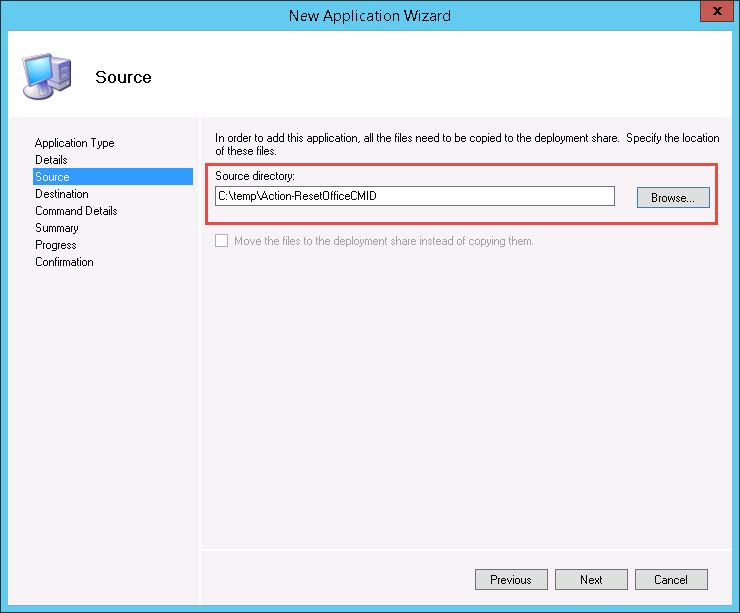
4. Specify the folder, where you downloaded the WSF File and Click Next:
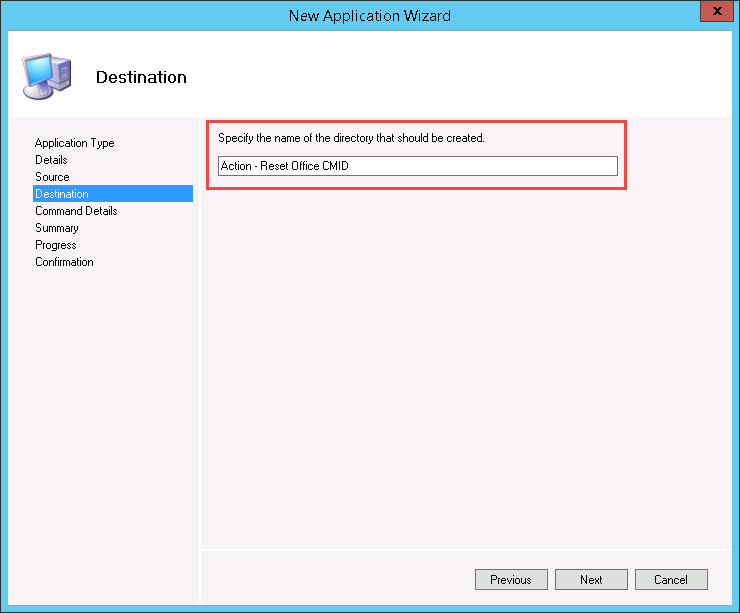
5. Specify the name of the directory, for example again Action – Reset Office CMID and click Next:
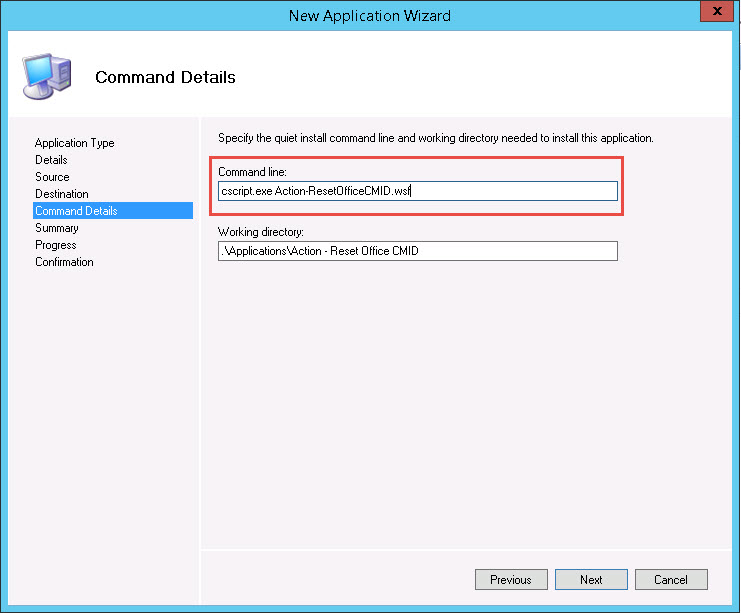
6. Specify the Command Line: cscript.exe Action-ResetOfficeCMID.wsf and Click Next:
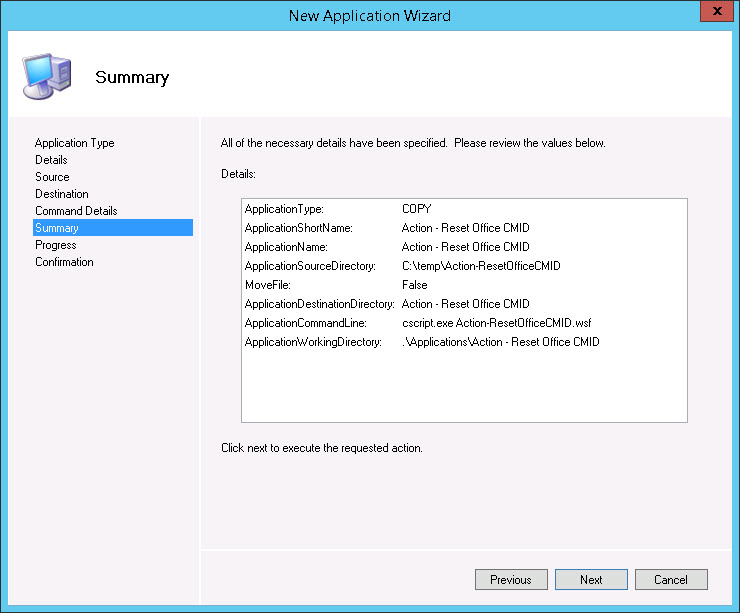
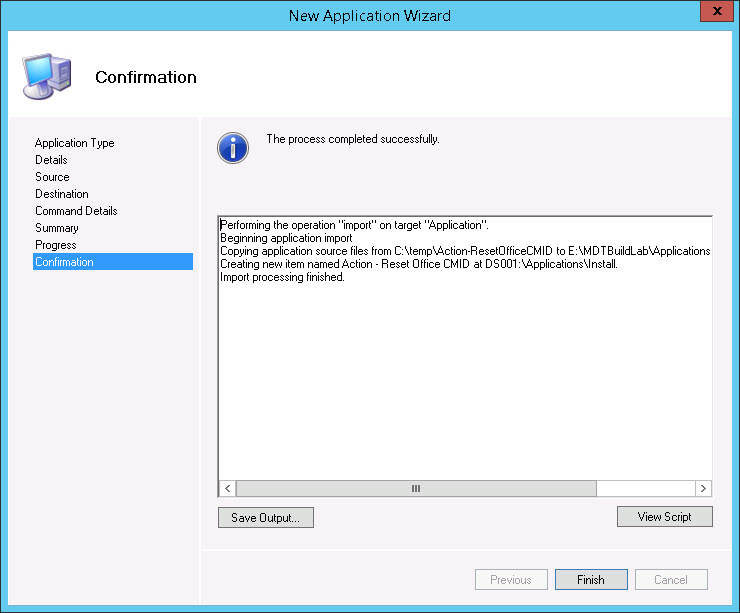
7. Validate your settings and Click Next:
8. Click Finish
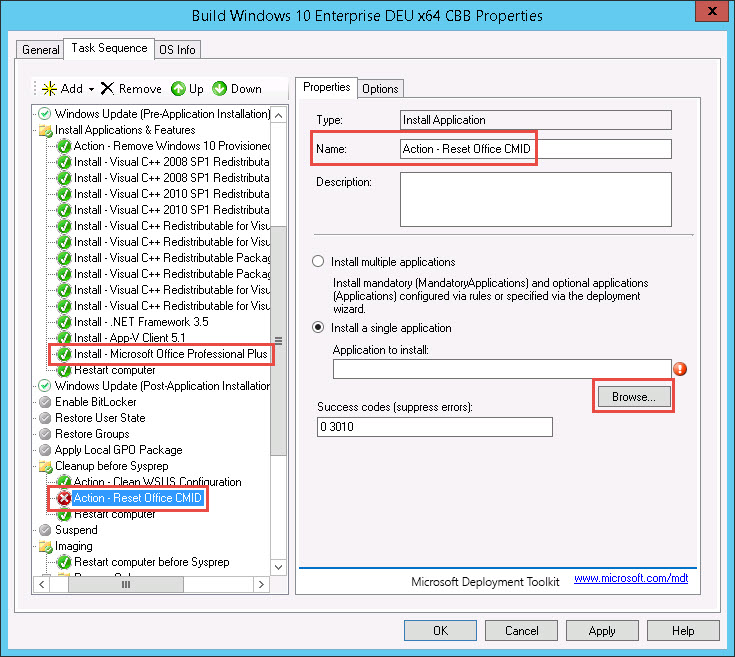
9. Open your Reference Build Task-Sequence and add a new Install Application step between Execute Sysprep and after the Office Installation. Click Browse:
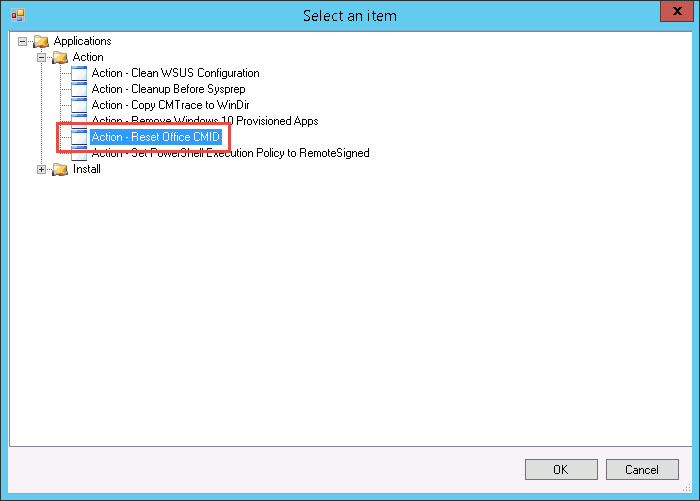
10. Select the Application, which you created and click OK:
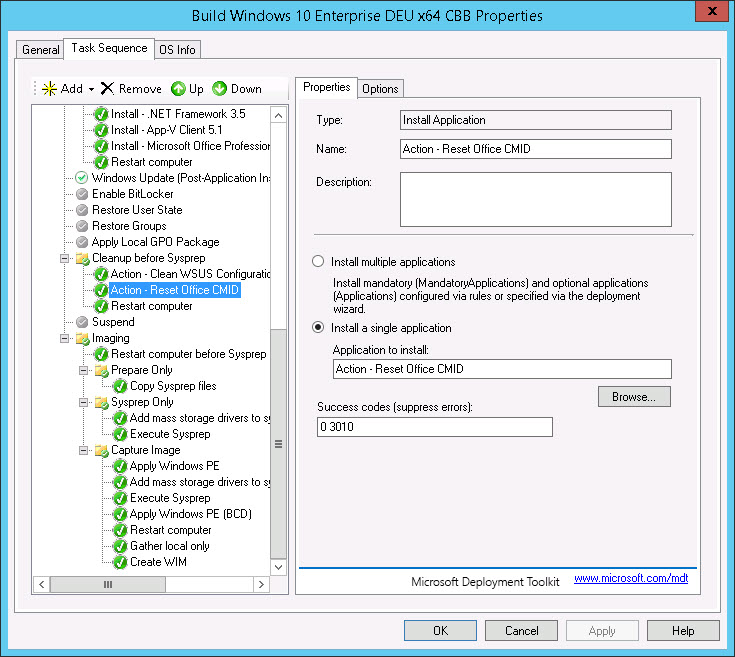
11. Validate your Settings and Click OK:
You can verify the rearming process, by putting a Suspend Action before and after the Action – Reset Office CMID Step.
Here you see the Task-Sequence before the step. You see, that the Office Installation currently has a CMID:
Next, the created Step runs, which will perform the rearm action:

If you execute the first command again, you notice that the CMID has been successfully cleaned:
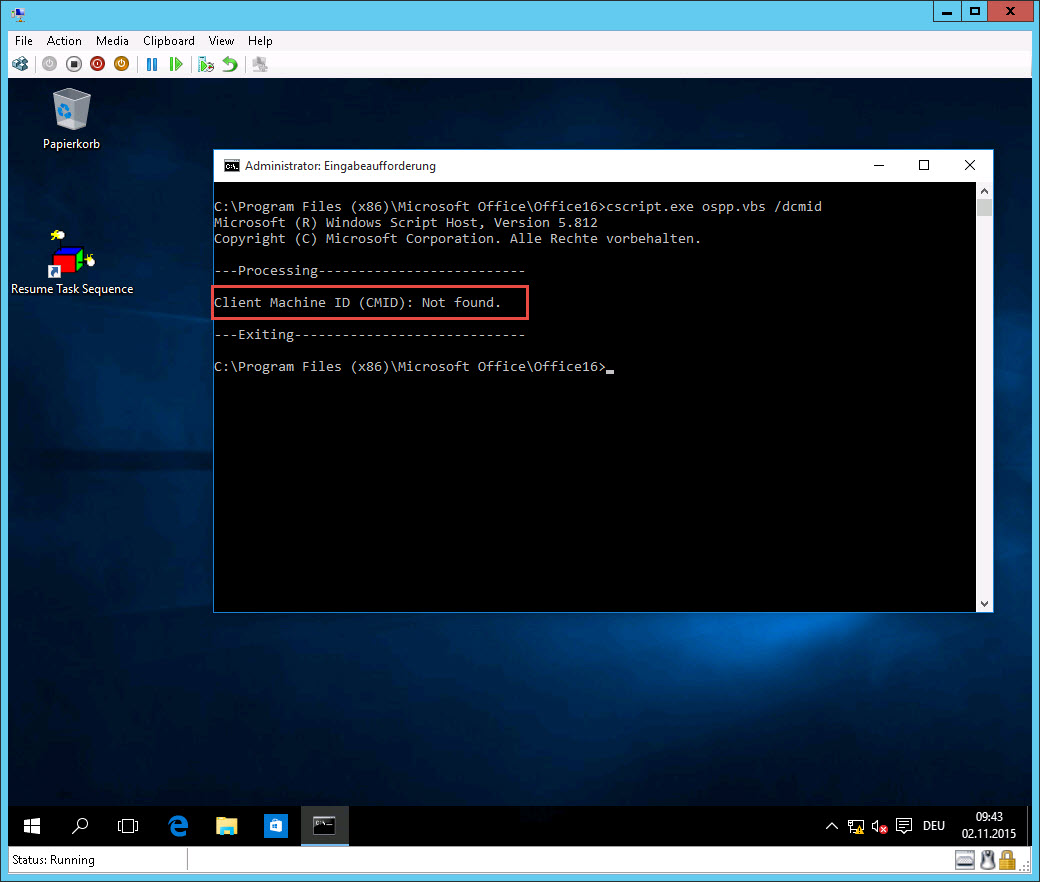
Additionally, you can verify this, be executing the above Command on a few deployed Devices. If the CMID is unique, then the cleaning was successful.
ConfigMgr / SCCM
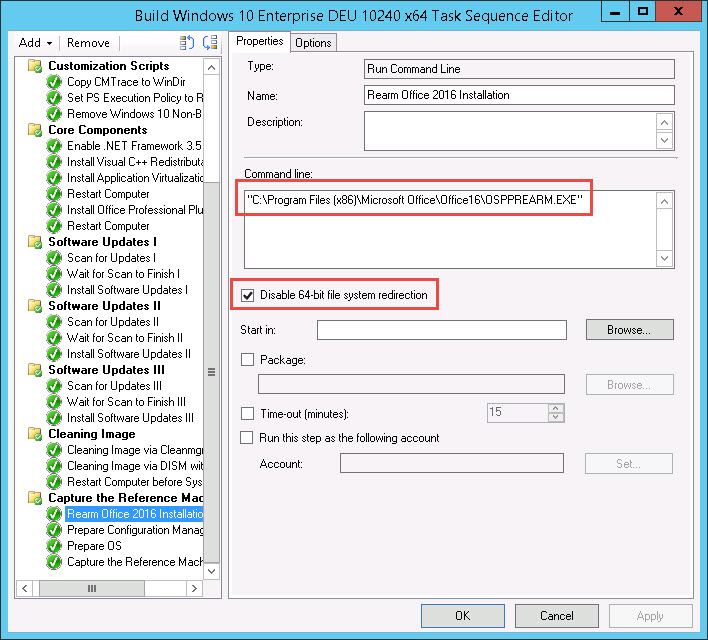
Unlike MDT, Configuration Manager does not perform any rearm action. If you are using Configuration Manager to create Reference Images, you can simply put a new Step in your Build and Capture Task-Sequence. Place the step, as below, before the Prepare Configuration Manager Step.
The step on the Print Screen below rearms an Office 2016 Professional Plus, 32-bit Installation:
I hope this blog post was helpful. If you have any additional notes or questions, let me know in the comments or write me on Twitter.
Hi there,
Personally, I created a reference image with Windows 10 & Office 2016 without rearming Office. I deployed this reference image into 4 computers.
When I run cscript ospp.vbs /dcmid, all of them respond with a different CMID. So my question is, do we really need to implement that step?
Hi Josué
It depends. I saw in the past deployments with unique CMIDs and Deployments with the same CMID. As Long as Office is not “used” in the Reference Image, you should be fine. However, I didn’t find out yet, what exactly causes Office to generate a CMID in the Reference Image. For example, for Office 2010, I always had the same CMID if you don’t perform the rearm Action. So it is up to you, if you want to be 100% sure, you should rearm Office when creating a new Reference Image.
Best Regards,
Simon
More on this subject….. I am using a few VM’s through Hyper-V and I have Office 2016 installed on the VM image. After I deploy this image, I run the CMD on the target machines and always see ‘CMID not found.’ Its not using KMS, we have a MAC license, and we activate Office as the user when we tailor the target machines. I use the same VM and update it as needed – I use a Snapshot of the VM prior to doing a capture so that I can apply the VM back to a state that has never been sysprepped.
The only problem I ran into was trying to run a program which uses Excel and it failed because too many features were disabled (I installed Office on this VM over a month ago). On my VM I ran the rearm.exe and that allowed me to run the excel program even though Office was not activated. Can I continually run the rearm on my VM even next year without having to activate Office on the VMs?
As far as I know, you need to perform the rearm within 30 days, which will work 3 times. So you basically get 3×30 days + the initial 30 days which gets 120 days in total.
How to Rearm office 2016