In the last blog post, I talked about Wrapping a Mac OS X App using CMAppUtil. Now we take it a step further and import this App into Configuration Manager and deploy it to a Mac on which the Parallels Mac Management Agent is installed.
Creating a new Application in ConfigMgr
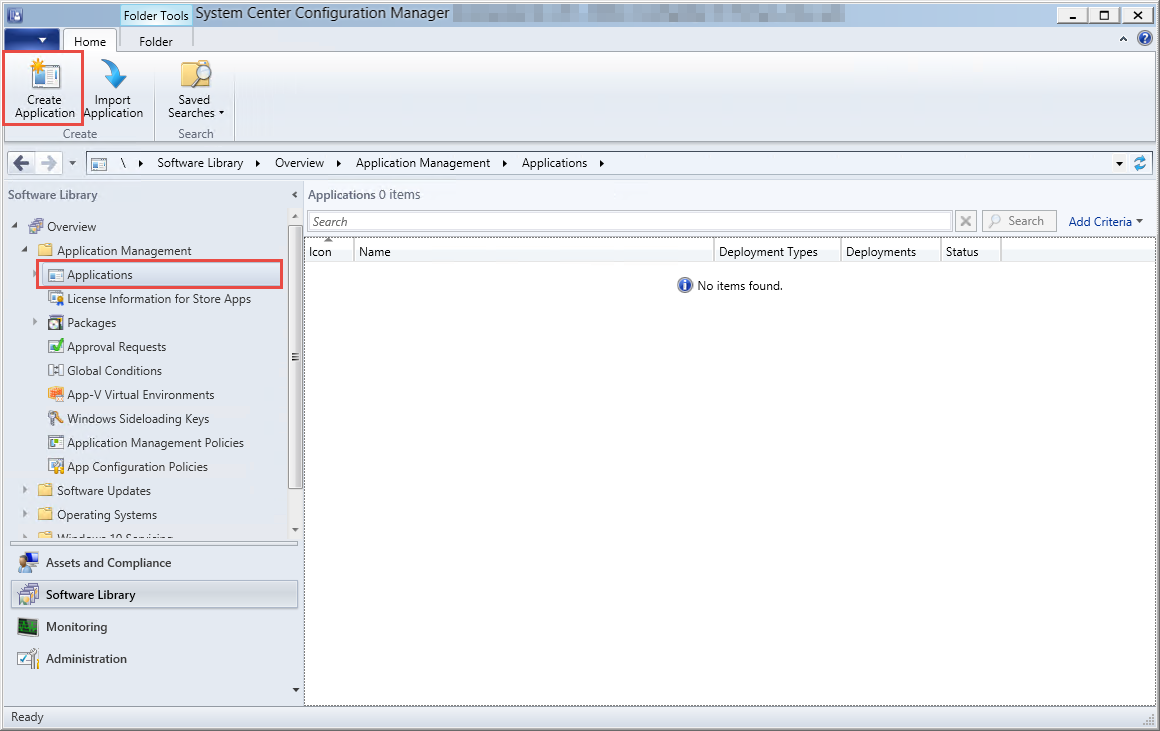
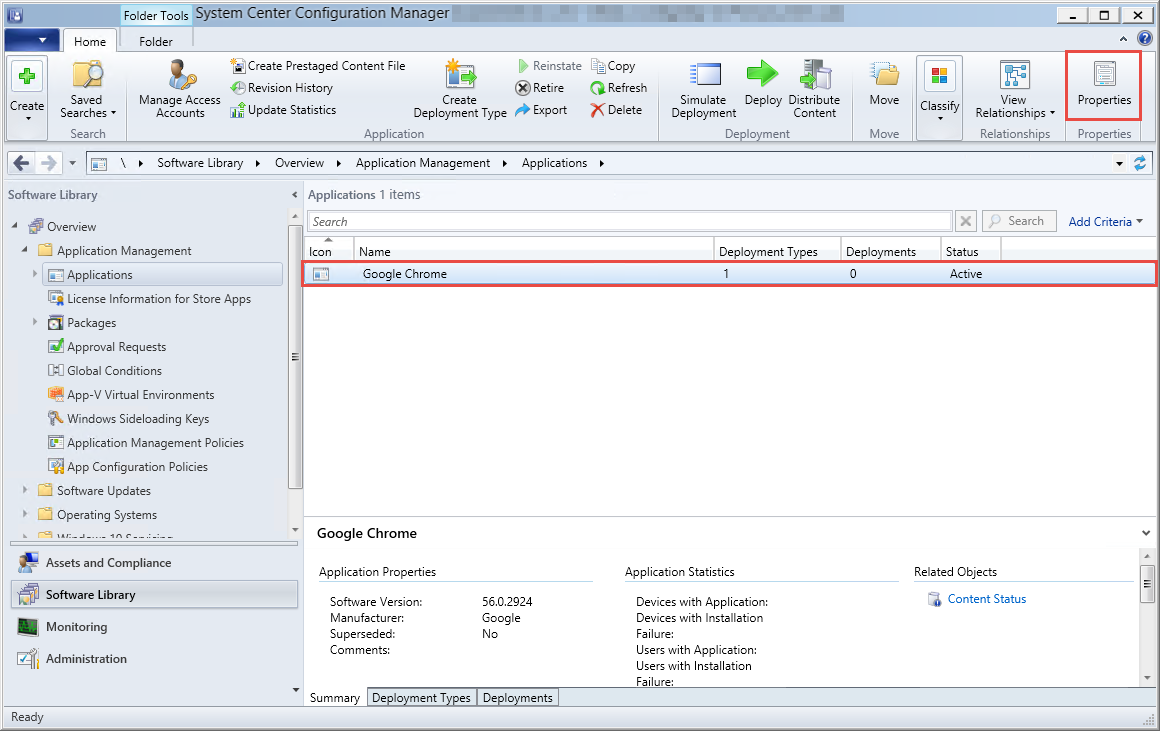
Launch the ConfigMgr Console, open the Software Library Workspace, select the Applications Node and Click Create Application

Select Mac OS X as Type and specify the Location to the wrapped “.cmmac” file. Click Next to continue.
If you haven’t already wrapped your Mac OS X App, then checkout my previous blog post: Wrapping Mac OS X Apps using CMAppUtil

Verify the Details and Click Next.
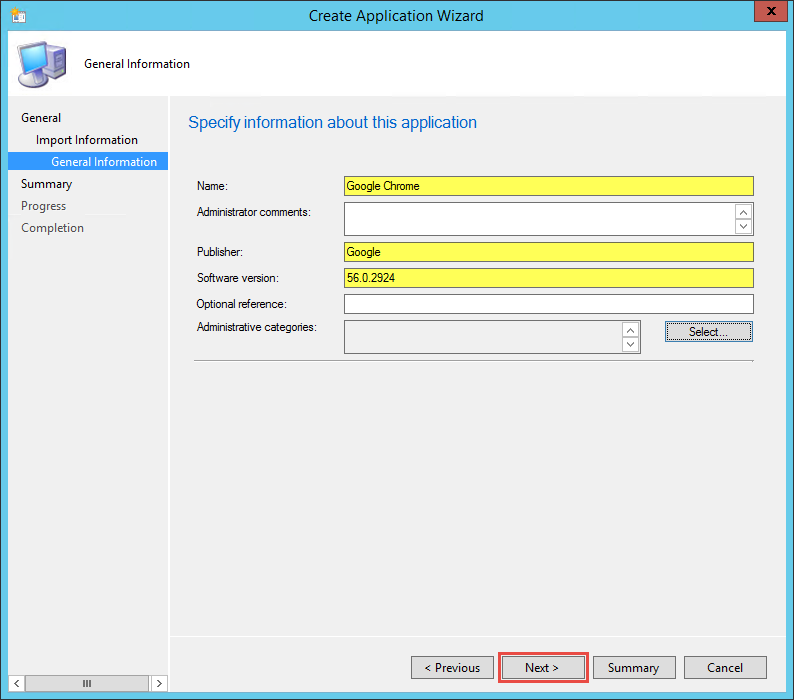
Add a Friendly Name as well as a Publisher and Software version. Click Next.
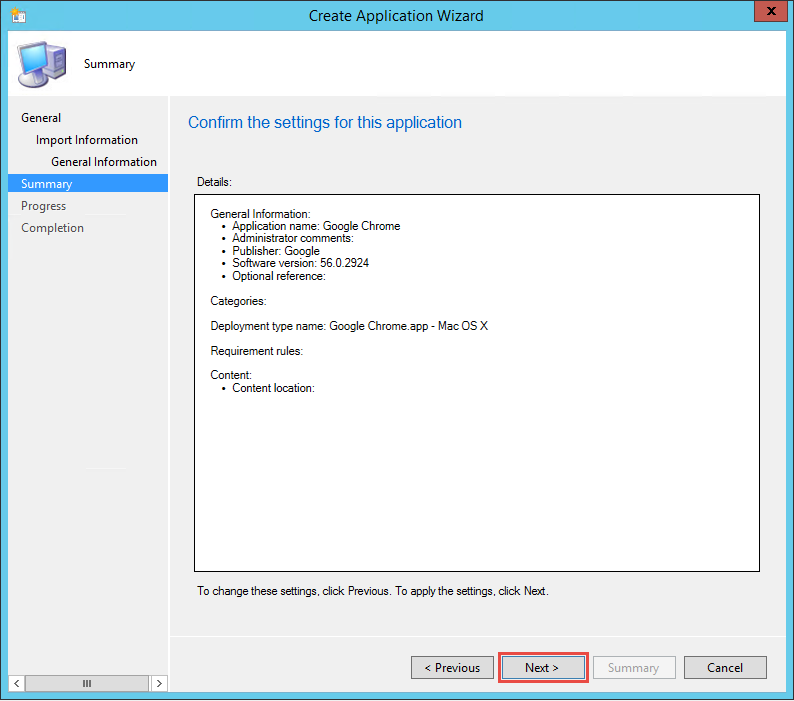
Verify the Details and Click Next.

Click Close.
Customizing the OS X Application
Open the Properties of the Application.

Switch to the Application Catalog Tab. Here you can assign more information to the Application, which will be visible for the end user. You can also enable the checkbox at the bottom to put the Application into the Featured Section in the Parallels Application Portal.

Switch to the Deployment Types Tab, Select the Deployment type and Click Edit.
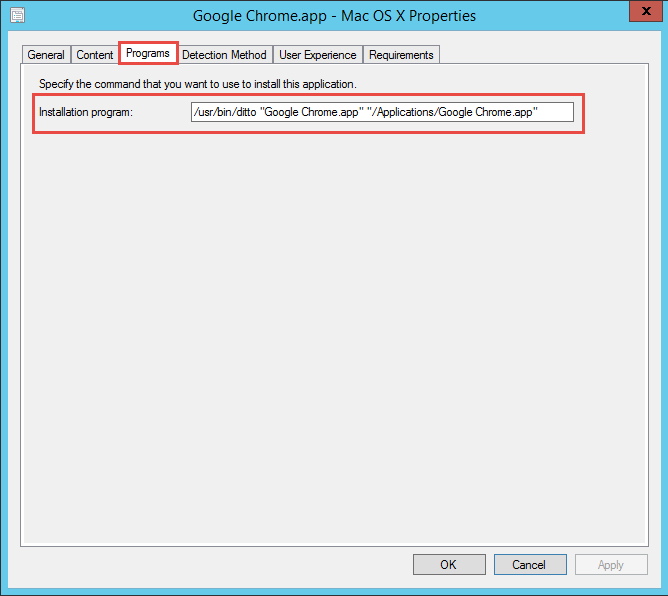
Switch to the Programs Tab and verify the Installation program.
As you see, the Google Chrome Application is a traditional OS X App, without an installer, which just needs to be put into the Applications folder.
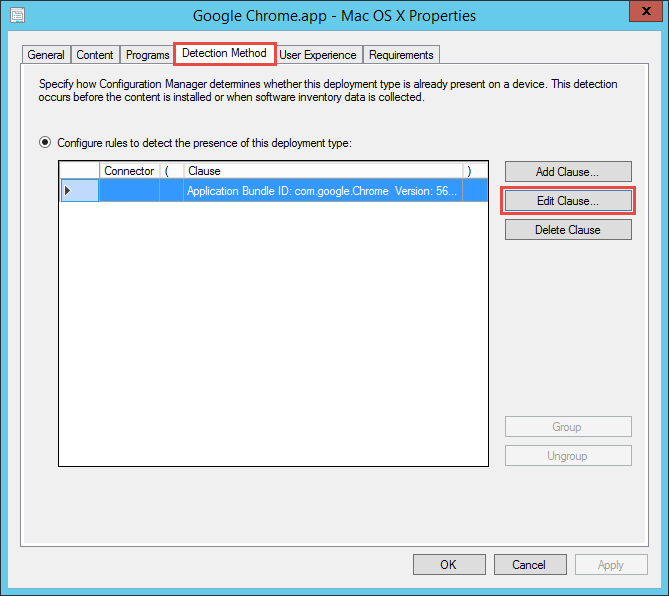
Switch to the Detection Method Tab, select the Clause and click Edit Clause.
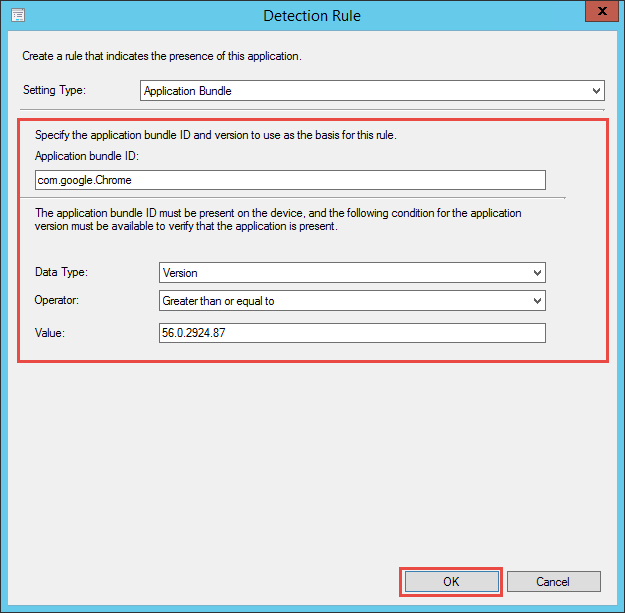
Verify the Detection Method to match the Version of the App. Click OK and Close all Dialogs.
Creating a Test Device Collection
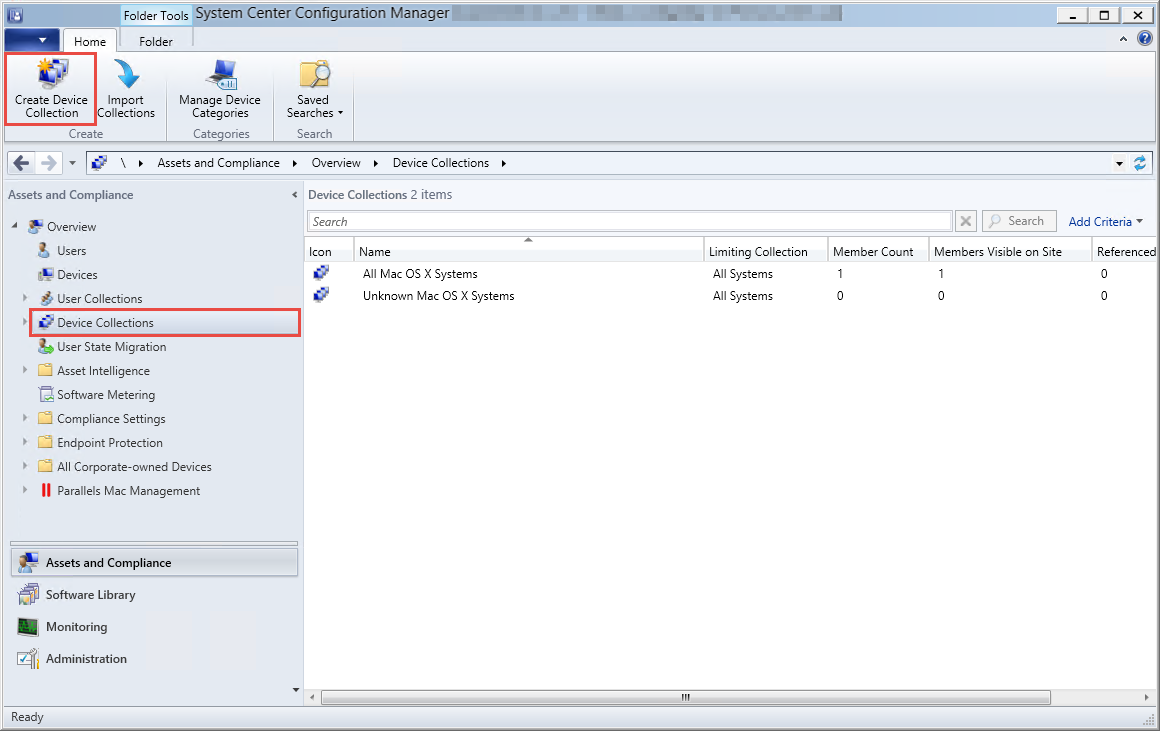
Open the Assets and Compliance Workspace, Select the Device Collections Node and Click Create Device Collection.
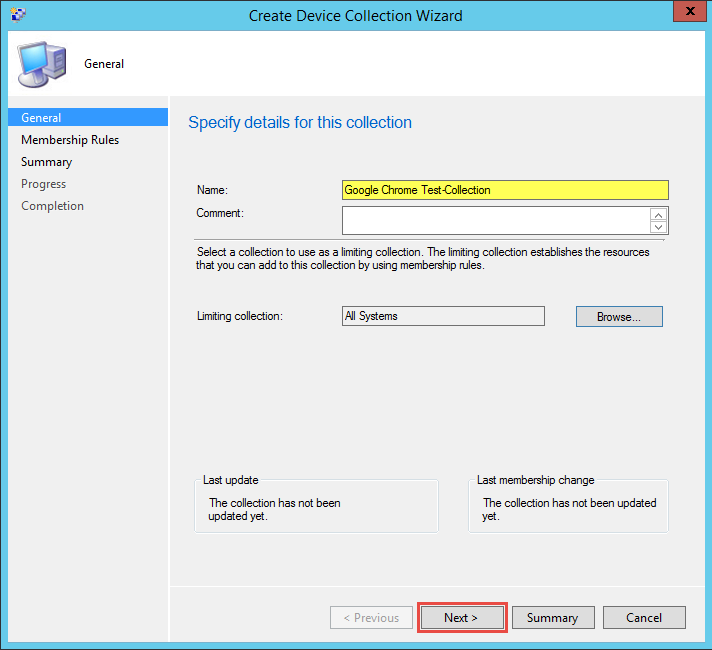
Specify a Name and Click Next.
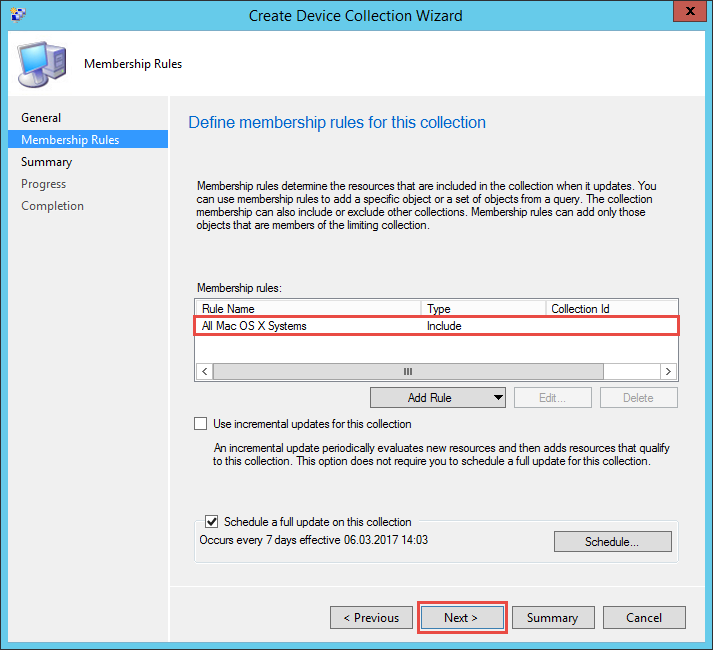
Specify a managed Mac Device. For this example, I included the “All Mac OS X Systems” Collection. Click Next.

Verify the Details and Click Next.
Click Close.
Deploying the Application
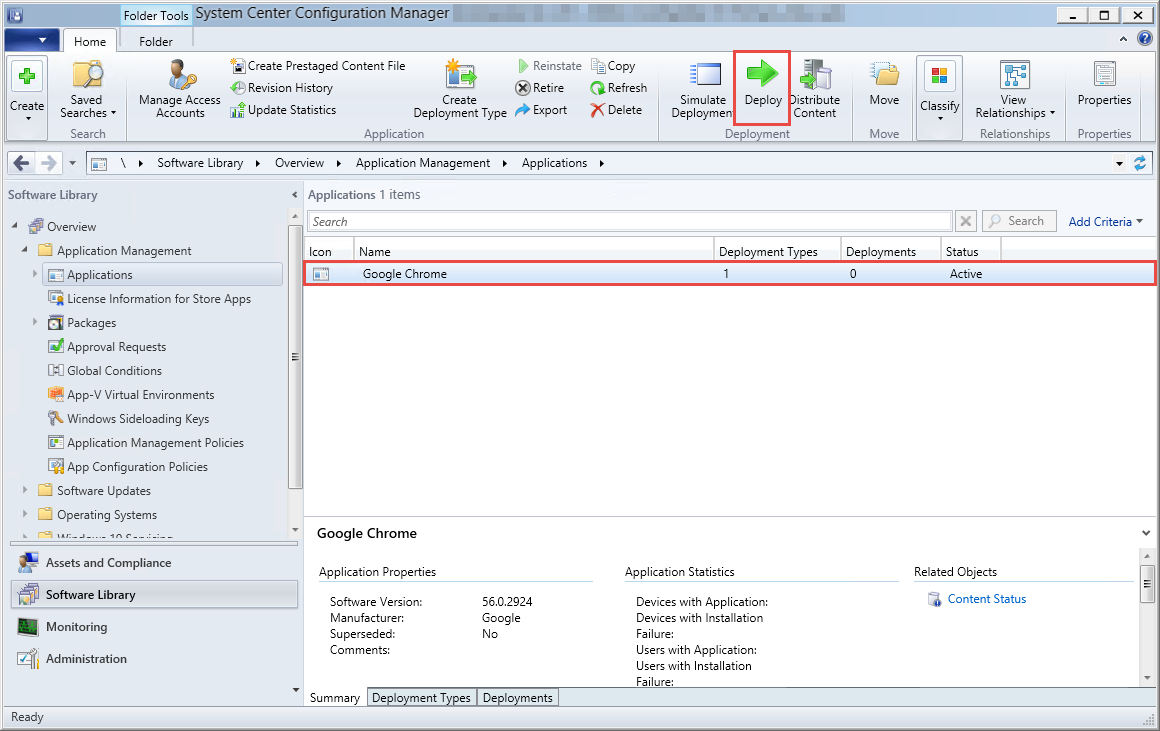
Switch back to the Software Library Workspace, Select your Application and Click Deploy.
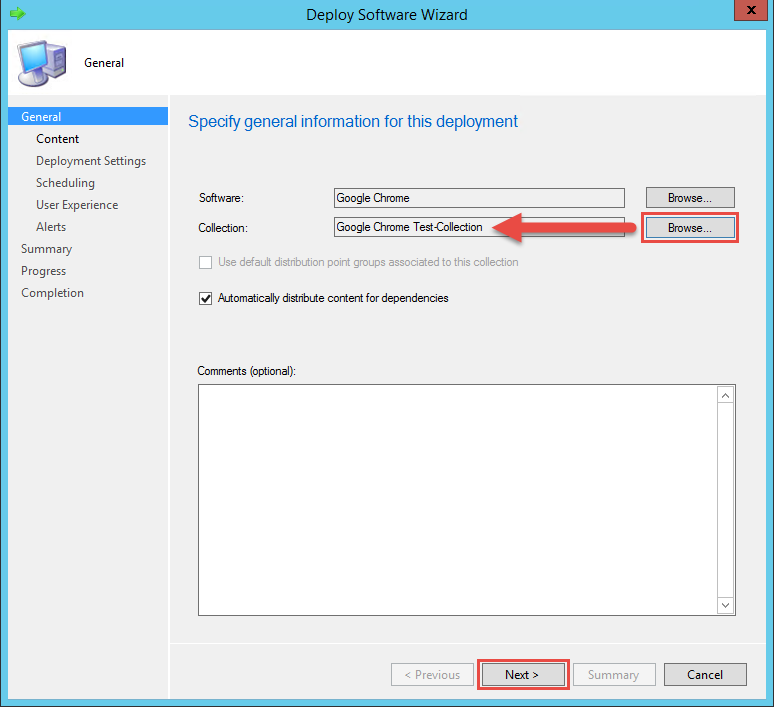
Click on Browse and Select the Collection that was created before. Click Next.

Select a Distribution Point or Distribution Point Group and Click Next.
Make sure that the targeted Device is within a Boundary Group which is assigned to the Distribution Point you selected.

Switch the Purpose to either Available or Required:
Available: The Application will be displayed in the Paralles Application Portal for a on-demand installation (Pull)
Required: The Application will be automatically installed onto the Mac OS X Device. (Push)
For this example, I choose Available. Click Summary.
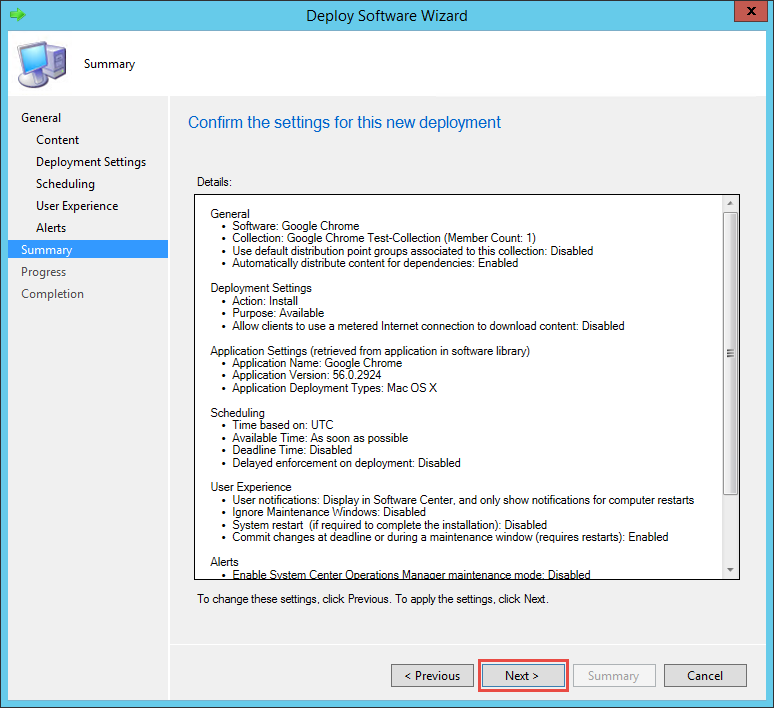
Verify the Details and Click Next.
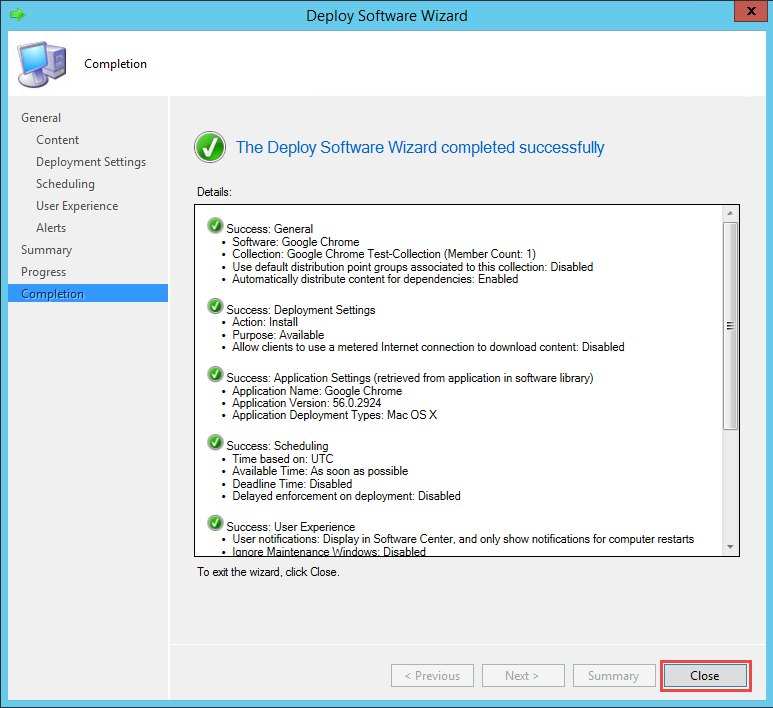
Click Close.
Triggering the Installation on the Device

Switch to your Mac OS X Device, open the Settings App and Click Parallels Mac Management
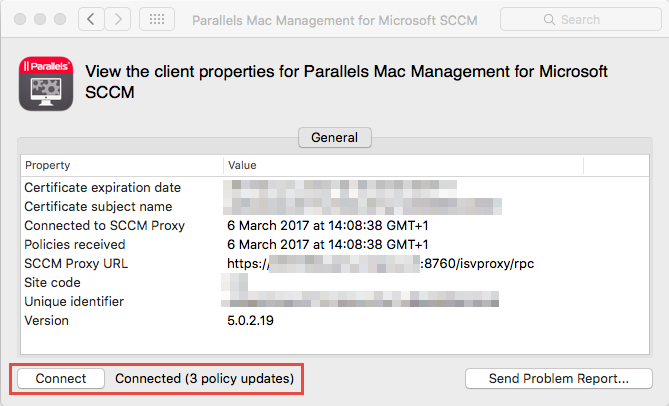
Click Connect to force a Policy Update. The number of policy updates should be displayed next to the button.
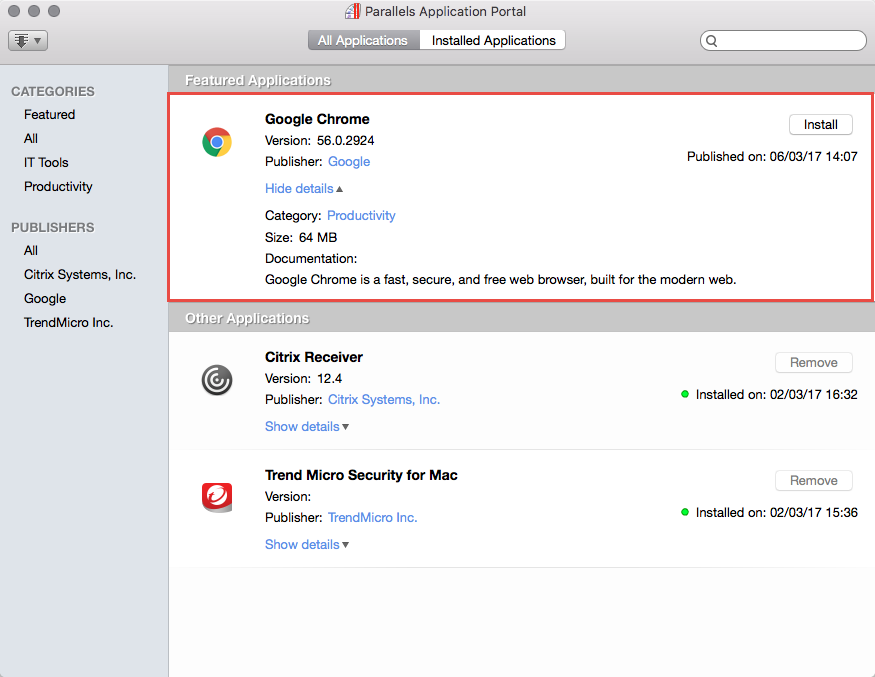
Open the Parallels Application Portal and after a short while the deployed Application should be displayed. Click on Install to start the Installation.
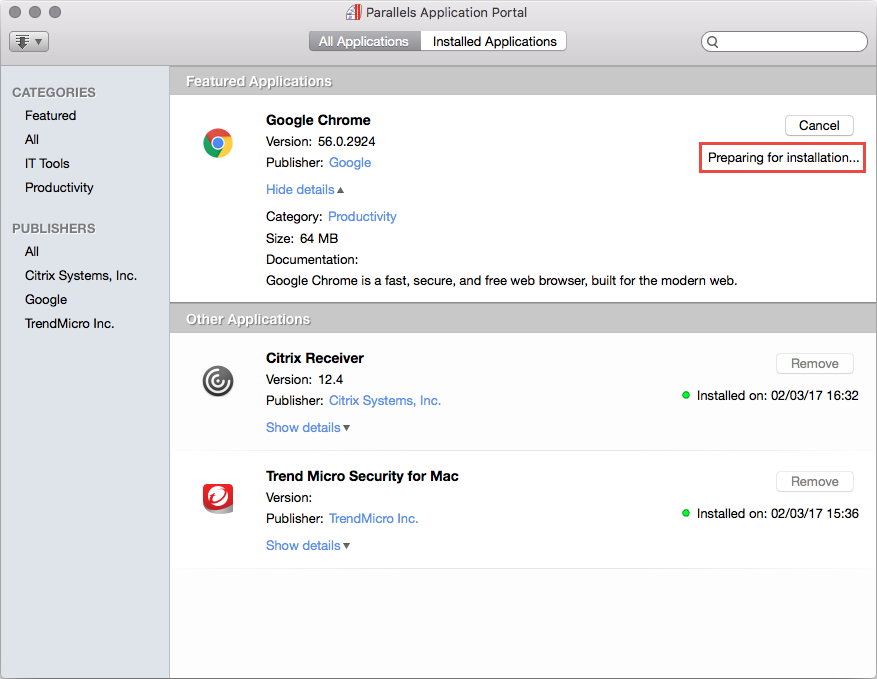
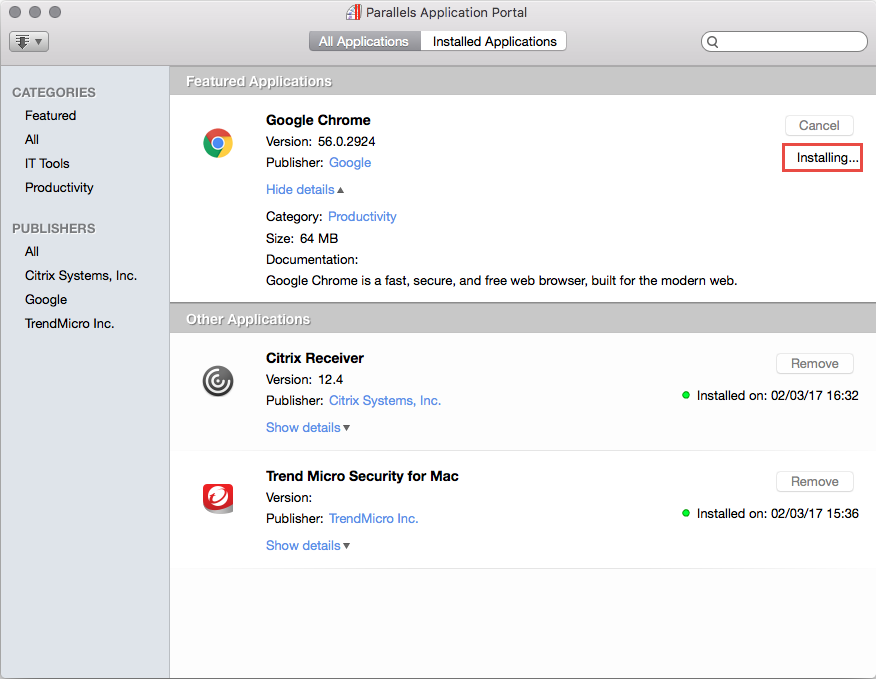
You can monitor the Installation in the following log file:
/Library/Logs/pma_agent.log
The Installation will pass the following steps:

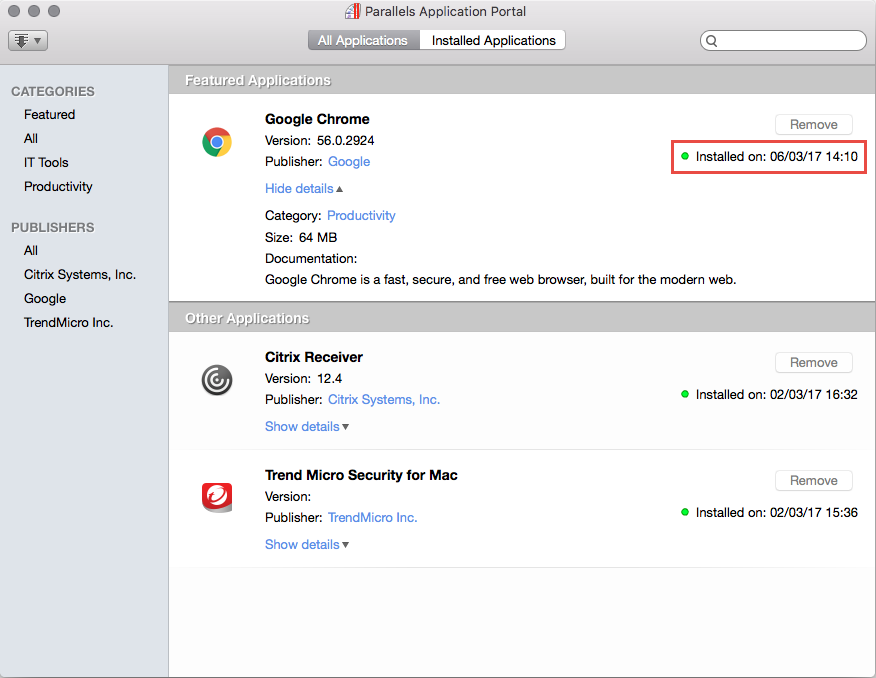
When completed, the Application should be visible in Launchpad as below: