Today’s blog post is going to be on how to create a simple file copy task, by utilizing a ConfigMgr Package in combination with Parallels Mac Management.
For this example, I’m using a dummy file called ‘msitproblog.cfg’ which we’re going to copy to ‘/Library/msitproblog.com/msitproblog.cfg’ on a Mac, where the Parallels Mac Management Agent is installed.
Creating the Package
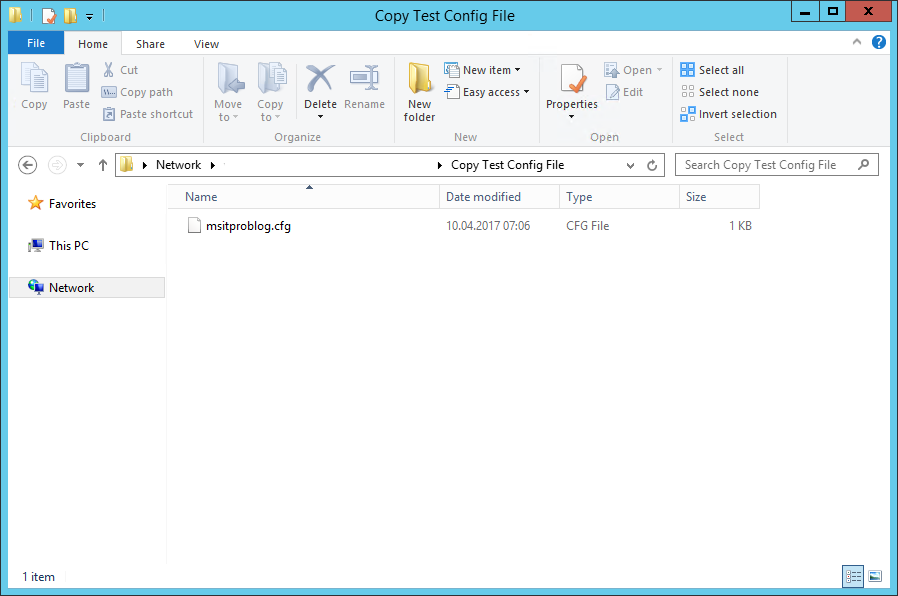
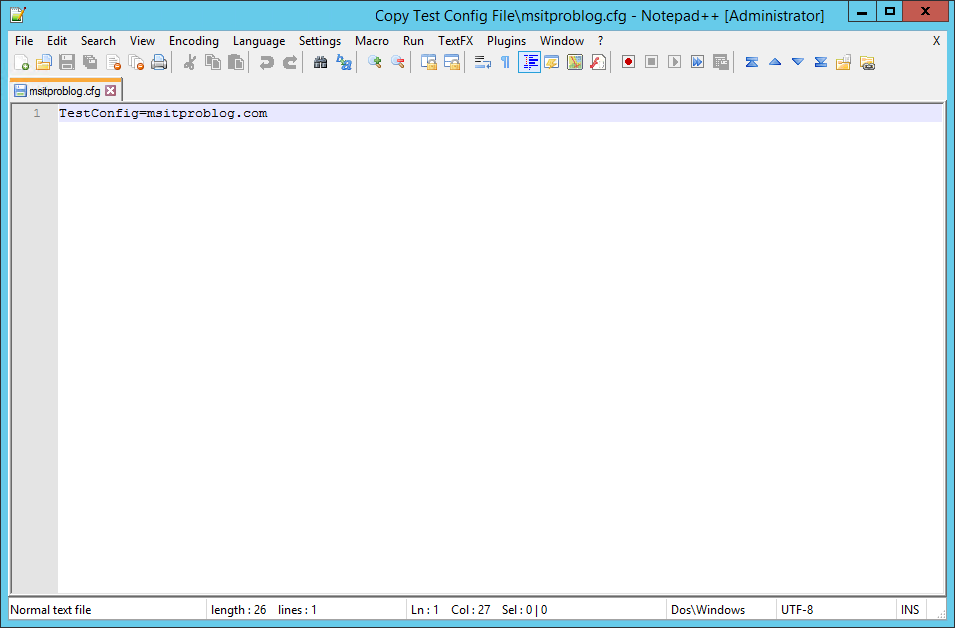
As mentioned above, we’re using a Dummy config file which is placed on our Package Share. This file is going to be copied to the Mac.
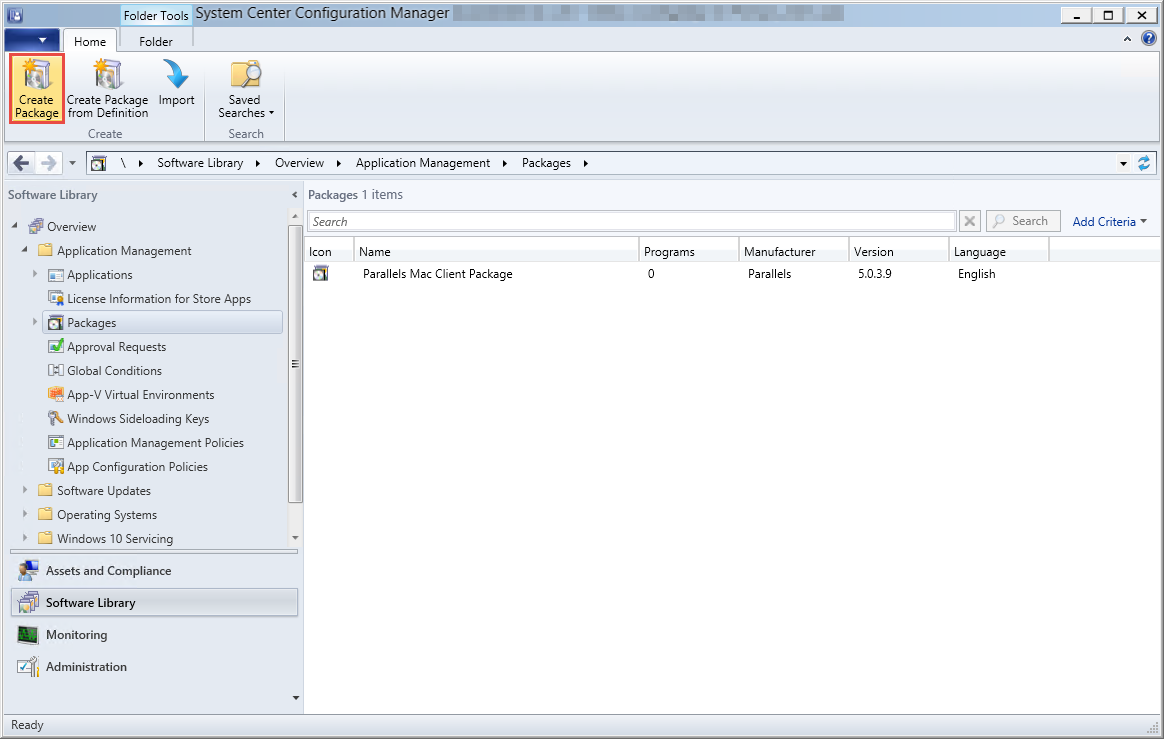
Open the ConfigMgr Console, Select the Software Library Workspace, Select Packages and click on Create Package.
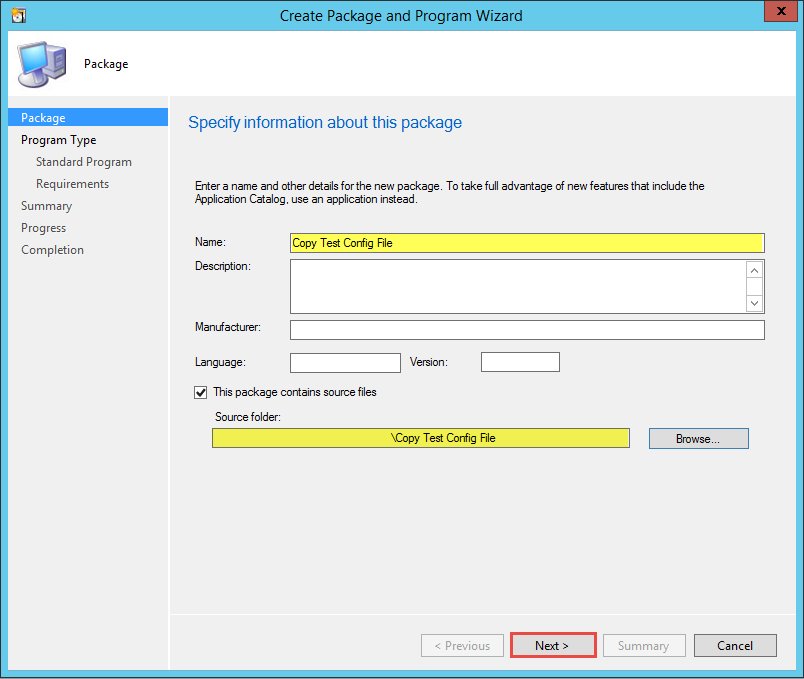
Specify a Name for the Package and the Path to the Source folder, where you stored your file. Click Next.

Select Standard program and click Next.

Specify a Title, which fits your Purpose, and specify the Command line as below:
ditto msitproblog.cfg /Library/msitproblog.com/msitproblog.cfg
Those of you familiar with Unix, probably know that there is also the cp command for file copy tasks. The Advantage with using ditto is, that it will create the destination folder structure if it isn’t present. For example, when looking at the Command above, the folder ‘msitproblog.com’ doesn’t exist yet on my Test Mac. Ditto will create that folder, however cp would fail with a ‘No such file or directory’ message.
Set Run to Hidden and Program can run to Whether or not a user is logged on. Click Next.
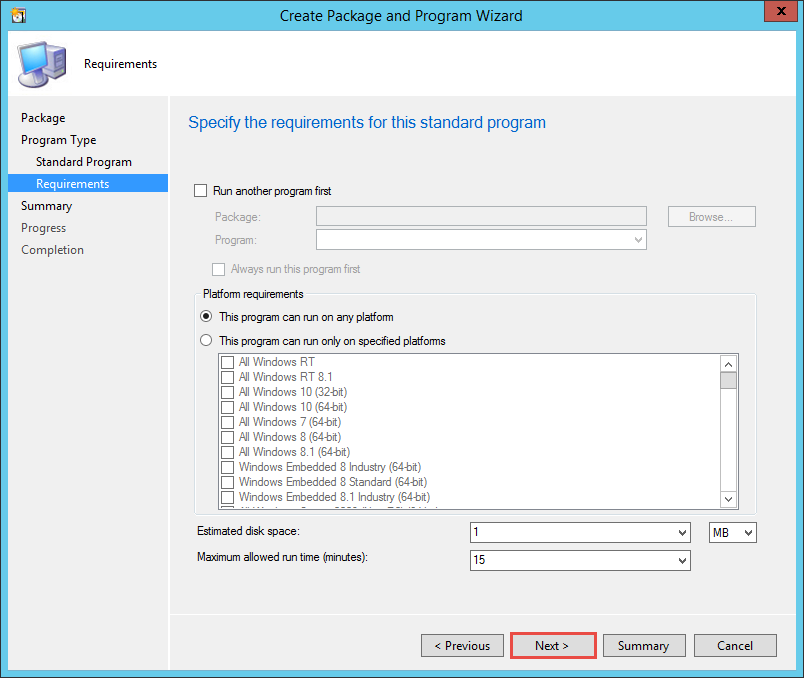
Set the Requirements if needed and click Next.
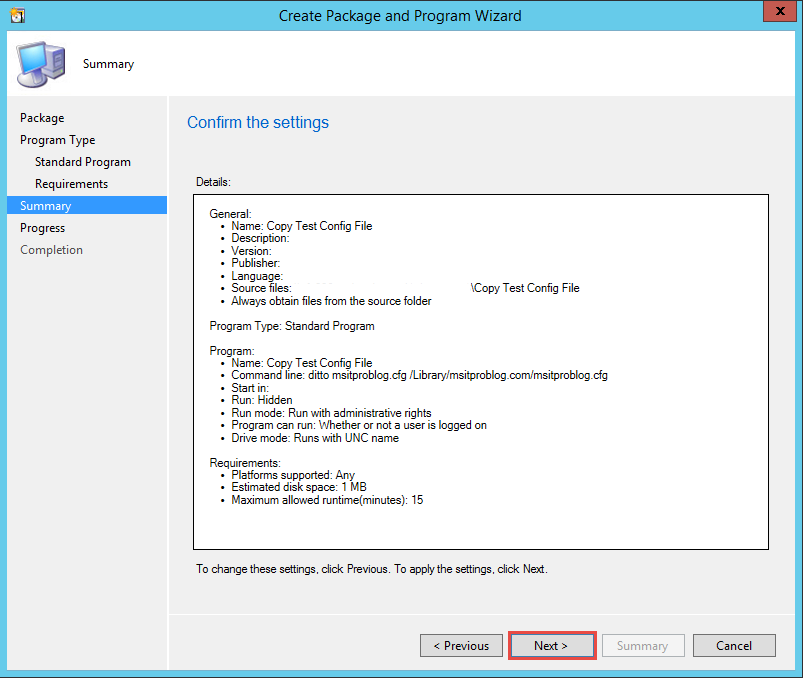
Verify your Package settings and click Next.
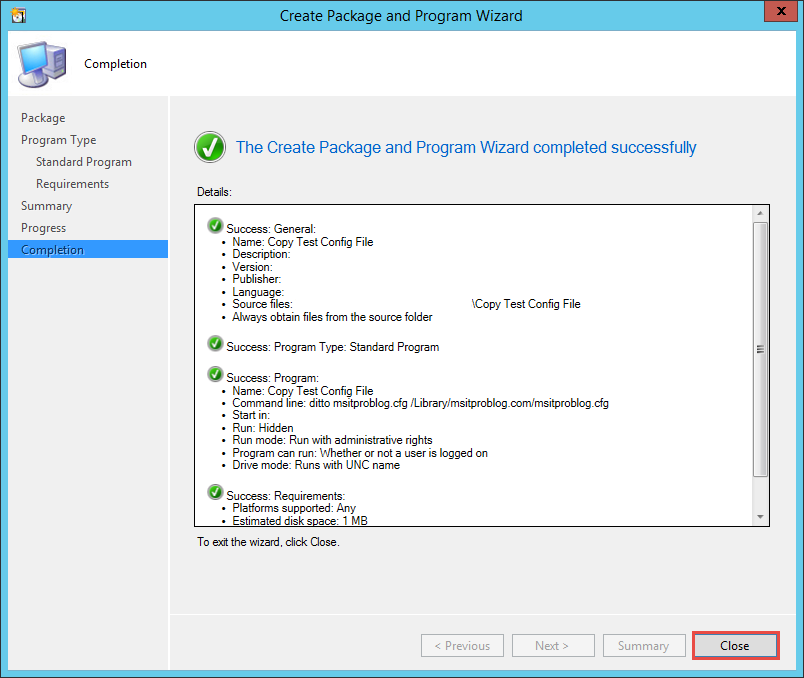
Click Close.
Deploying the Package
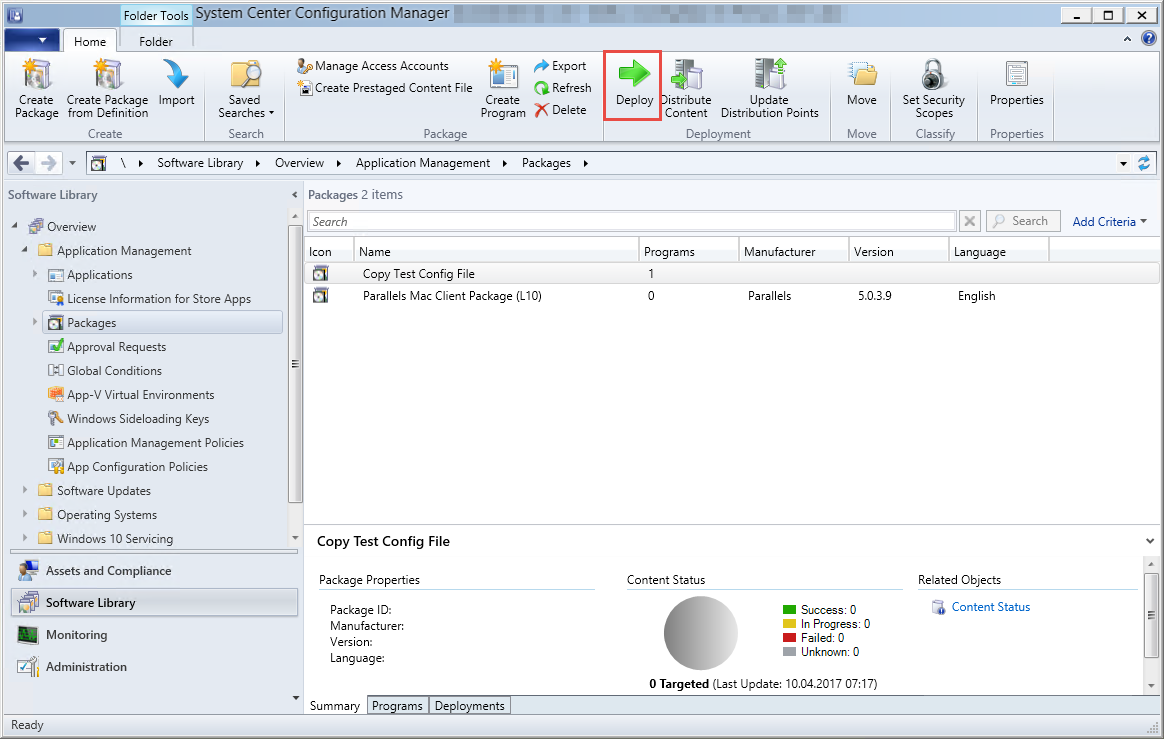
Select the created Package and Click Deploy.
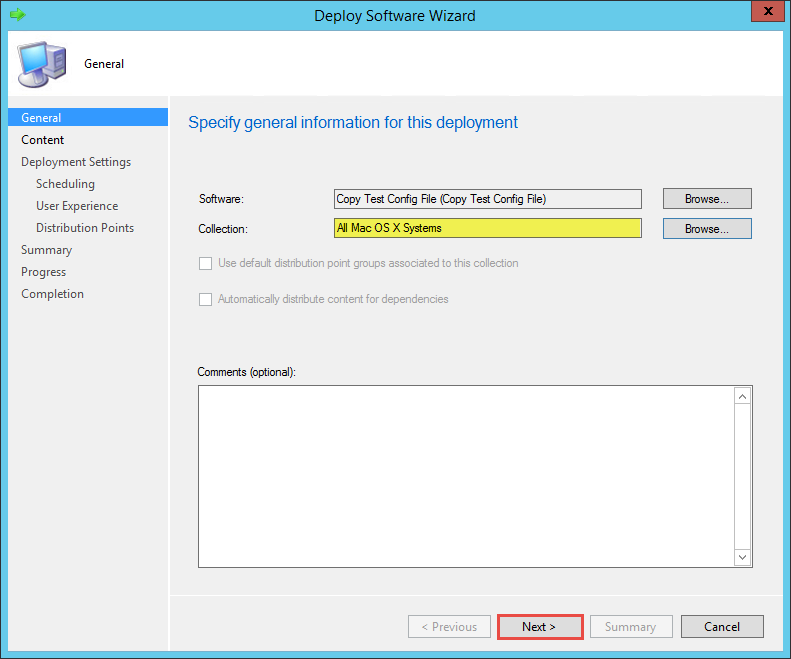
Select the Collection that contains your Mac(s) and click Next.
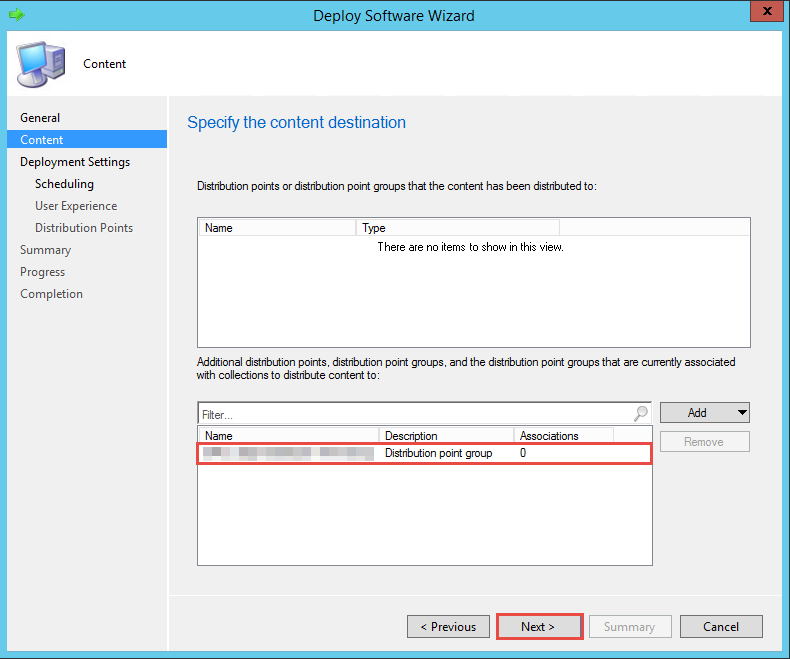
Select a Distribution Point or Distribution Point Group and click Next.
Make sure that the targeted Device is within a Boundary Group which is assigned to the Distribution Point you selected.

Select the Purpose of the Deployment. In this example, I’m using Required. Click Next.
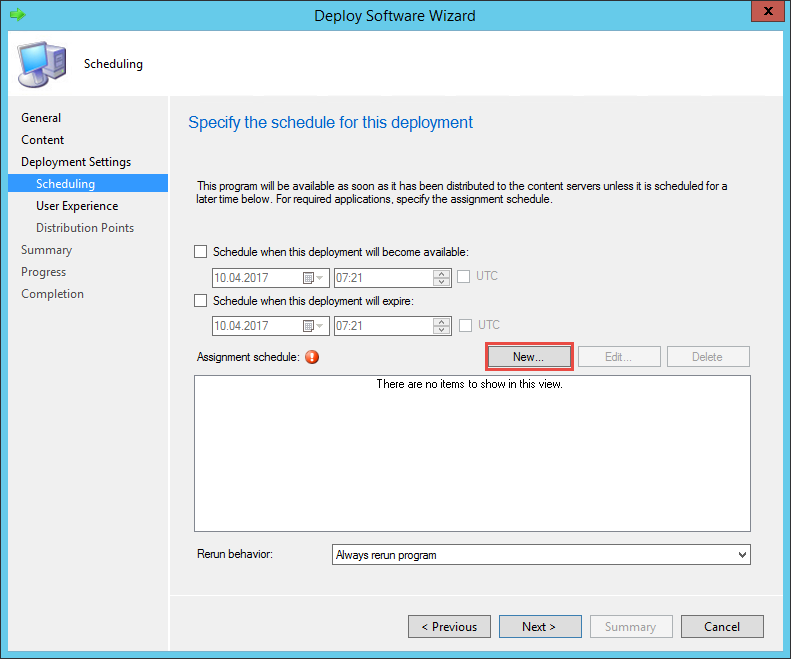
At Assignment schedule, Click New. This step may vary, based on the Purpose of the Deployment which was selected before.

Select As soon as possible from the Dropdown and click OK.

Click Summary or Next, if you’d like to specify more Deployment options.

Verify your Deployment settings and click Next.
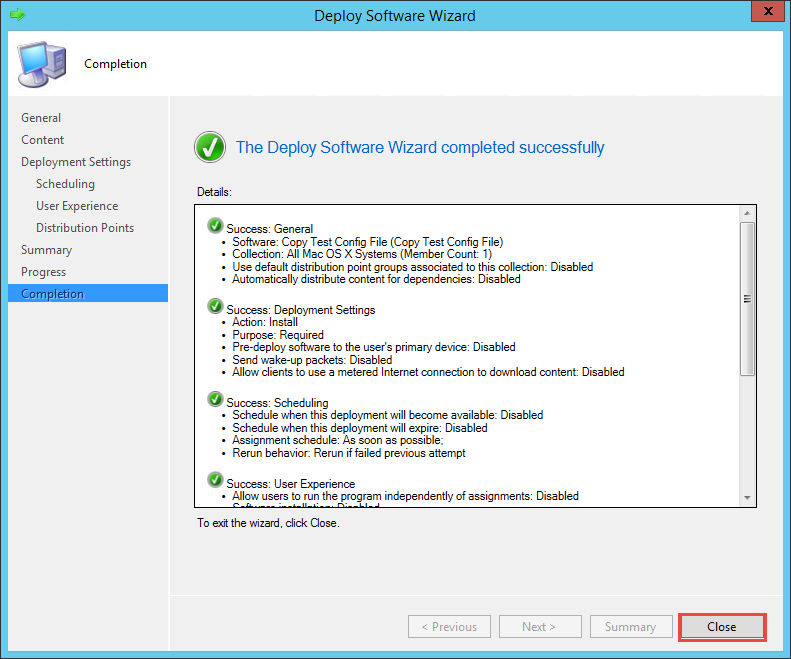
Click Close.
Verifying the Deployment on the MAC
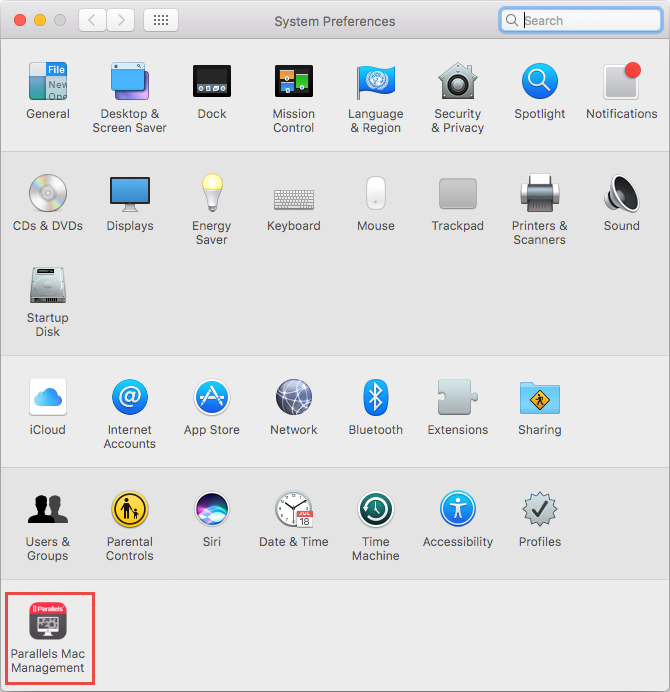
Open the System Preferences on the targeted Mac and click on Parallels Mac Management.
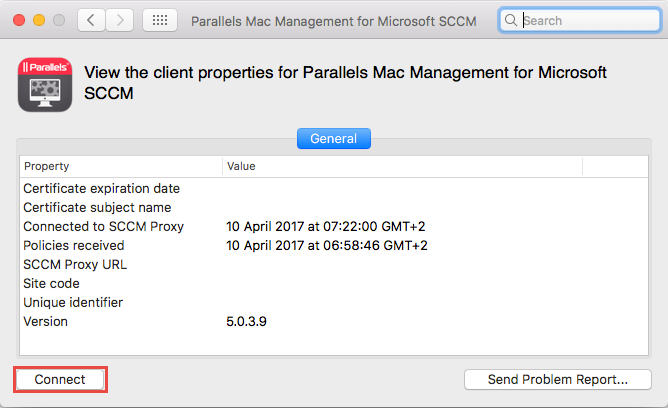
Click on Connect to force an immediate Policy Update.
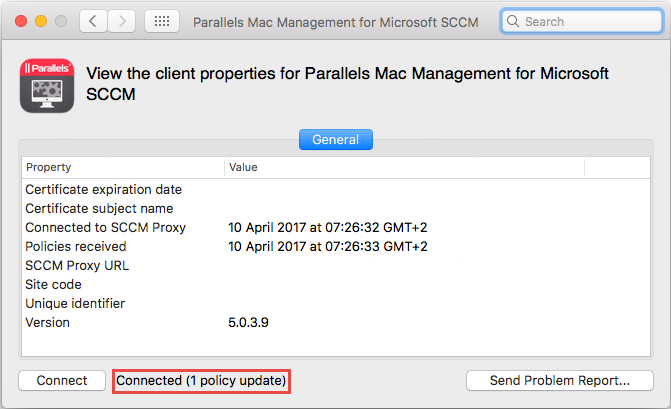
The App should list one or more Policy Updates.

When looking at the Parallels Mac Management Agent Log, located at ‘/Library/Logs/pma_agent.log’, you should see that the Package is getting downloaded and the specified Command line is getting executed.
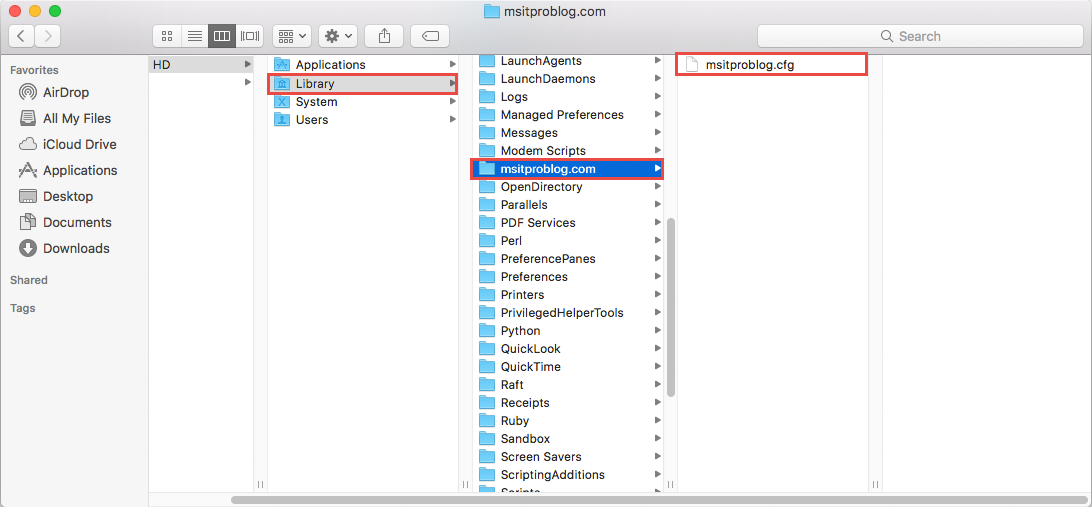

The file should now be available at the specified location on the Mac.